There’s a very specific head-shake dogs do when their ears are bothering them the kind that makes their whole body wobble and their collar jingle like a tiny alarm bell. If you’ve seen it, you already know: it’s time for an ear cleaning.
The good news? Cleaning your dog’s ears at home is one of the easiest grooming tasks you can master, and it doesn’t require a vet visit, fancy tools, or a steady hand like nail trimming does. All it takes is the right supplies, a calm approach, and a few minutes of your time.
This guide walks you through exactly how to clean a dog’s ears at home safely, gently, and correctly plus how often to do it, which breeds need extra attention, and the warning signs that mean it’s time to call your vet instead of reaching for the cotton balls.
Why Ear Cleaning Matters More Than Most Pet Parents Realize
Ear care often gets lumped in with the “someday” tasks, somewhere between brushing teeth and trimming nails. But a dog’s ears are actually one of the most infection-prone parts of their body, and for a simple anatomical reason.
A dog’s ear canal is shaped like an “L,” with the eardrum situated at the bottom of that angle which means wax, moisture, and debris can collect in that curve far more easily than in a human ear. Left unchecked, that buildup becomes the perfect breeding ground for yeast and bacteria.
Regular ear cleaning helps you:
- Prevent painful ear infections before they start
- Catch early warning signs (redness, odor, excess wax) while they’re still minor
- Keep your dog more comfortable, especially in humid weather or after swimming
- Build trust with your dog through gentle, positive handling
Skipping ear care doesn’t just risk infection it also means you might miss early symptoms of a problem that’s quietly getting worse.
How Often Should You Clean Your Dog’s Ears?
There’s no single answer that fits every dog. Your veterinarian can help you determine how often to clean your dog’s ears, since factors like age, breed, coat, and activity level all play a role.
As a general guideline:
- Most dogs: once a month
- Dogs with floppy ears or heavy shedding around the ear (Cocker Spaniels, Basset Hounds, Poodles): every 1–2 weeks
- Dogs who swim regularly: after every swim, since trapped moisture is a major infection trigger
- Dogs prone to allergies or chronic ear issues: as frequently as your vet recommends, sometimes weekly
If you’re unsure where your dog falls, start with a monthly cleaning and adjust based on what you see and smell during each session.
Which Dog Breeds Need the Most Ear Care?
Some breeds are simply more prone to ear issues, usually because of ear shape, hair growth, or skin sensitivity. Regular cleaning is especially important for breeds prone to allergies or recurring infections, such as Cocker Spaniels, Basset Hounds, Labrador Retrievers, and Poodles.
Breeds that typically need more frequent ear care:
- Cocker Spaniels
- Basset Hounds
- Poodles
- Labrador Retrievers
- Golden Retrievers
- Bloodhounds
- Beagles
- Any breed with long, floppy, or heavily-furred ears
If your dog falls into one of these categories, consider making ear checks part of your regular grooming rhythm even a quick weekly peek can help you catch problems early.
What You’ll Need Before You Start
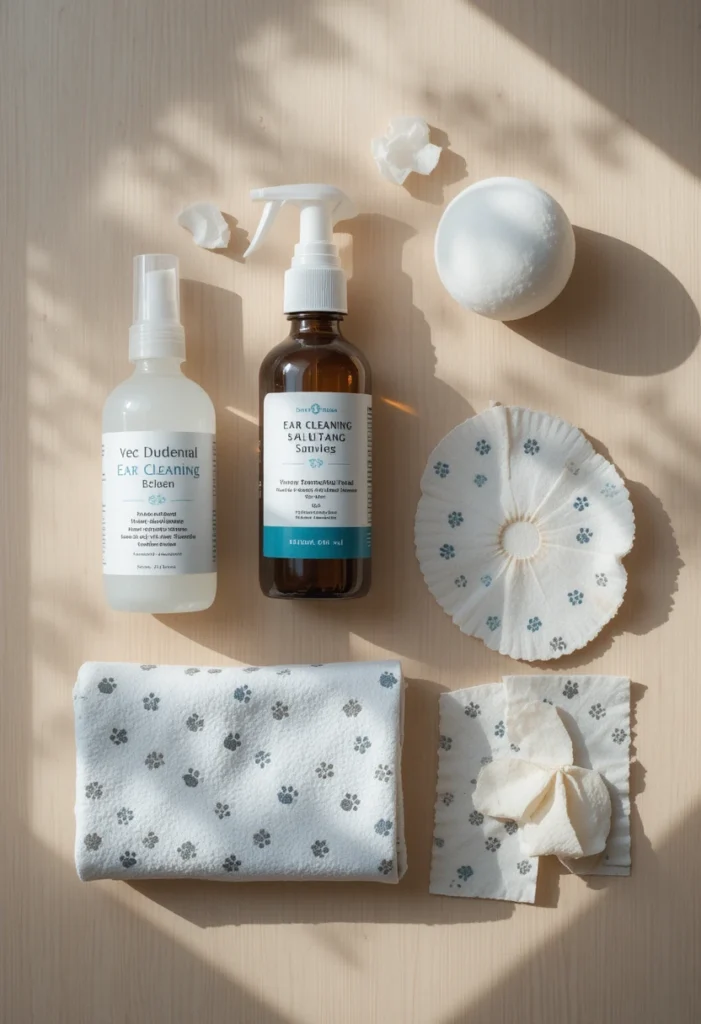
One of the best parts of learning how to clean a dog’s ears at home is how little equipment it actually takes. A quality ear cleaner, a stack of cotton balls or gauze, a towel for the inevitable head shake, and a few treats to keep the mood positive will handle almost every at-home cleaning.
Your ear-cleaning kit:
- A vet-approved dog ear cleaning solution (never use water alone or human ear-cleaning products)
- Cotton balls or gauze pads never cotton swabs/Q-tips
- A towel to catch drips and manage the post-cleaning head shake
- Treats for positive reinforcement
- Optional: a second pair of hands if your dog is squirmy
One important note on solutions: hydrogen peroxide should be avoided, since it can sting and irritate the sensitive lining of the ear canal and leave behind moisture that actually encourages the yeast and bacteria you’re trying to clear out. Stick to a cleaner formulated specifically for dog ears.
How to Clean a Dog’s Ears at Home: Step-by-Step
Once you’ve got your supplies ready, the process itself only takes a few minutes per ear.
Step 1: Choose a Calm Moment
Pick a time when your dog is relaxed after a walk or play session often works well, since a tired dog tends to be a cooperative one. Wait until your dog is calm before attempting to clean their ears, then have them lie on their side and hold their ear open.
Read Also: 13+ Best Family Friendly Dog Breeds
Step 2: Trim or Groom Excess Hair (If Needed)
Dogs with very hairy ears should get a trim before cleaning begins, removing matted hair and any fur blocking the ear canal. If your dog’s ear hair is thick, a few gentle plucks near the opening can improve airflow though if you’re not confident doing this yourself, a groomer can help.
Step 3: Position Your Dog Comfortably
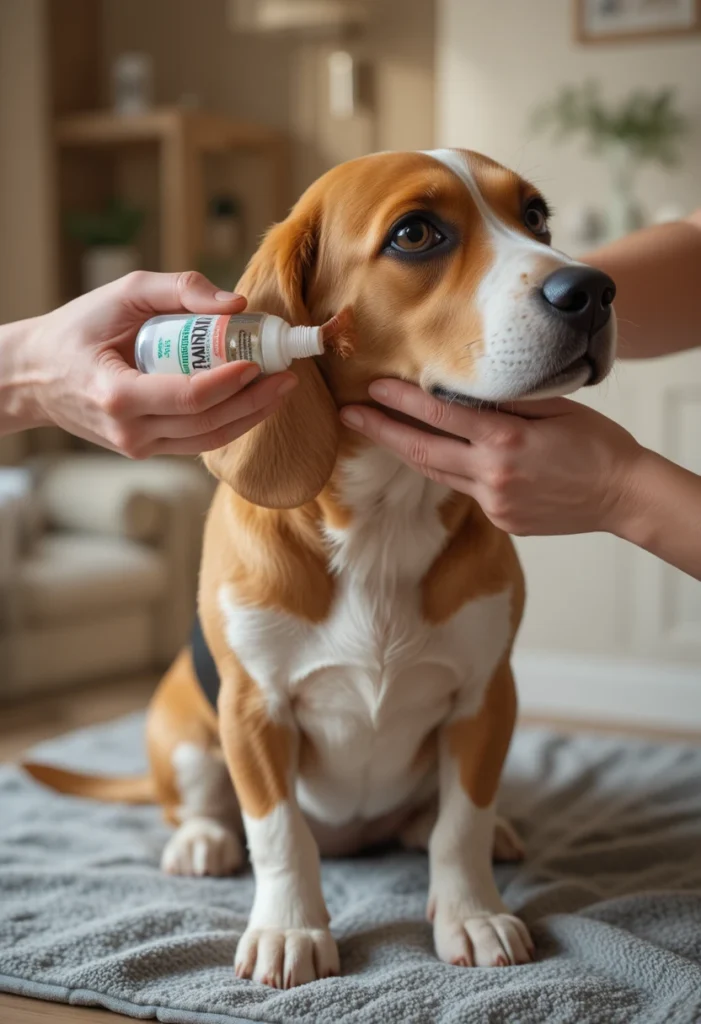
If your dog is small enough, you can place them on a table and wrap an arm around them for gentle support; larger dogs may do better lying down while you kneel beside them. The goal is a calm, secure position not a wrestling match.
Step 4: Apply the Ear Cleaning Solution
Using the ear flap as a natural funnel, apply the solution into the ear canal. Fill the inner ear with enough solution that it begins to flow out, but never insert the bottle’s tip directly into the ear canal. Cornell’s veterinary team echoes this warning forcing the bottle into the ear and squeezing fluid in aggressively could create pressure that risks rupturing the eardrum.
Step 5: Massage the Base of the Ear
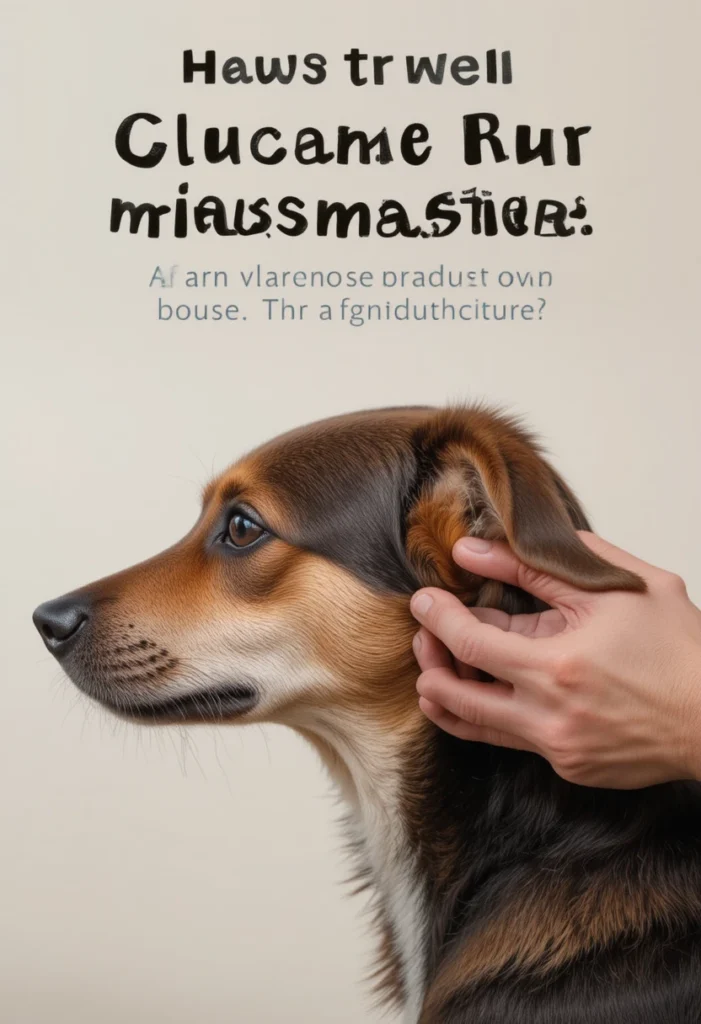
Hold the ear flap and gently massage the base of the ear for about 20 to 30 seconds. You should hear a soft squishing sound that’s the solution working its way through the canal and loosening debris.
Step 6: Let Your Dog Shake
This is the messy (but important) part. Step back and let your dog shake their head this natural motion helps bring loosened debris and excess solution up and out of the ear canal. Having a towel nearby now pays off.
Step 7: Wipe Away Debris
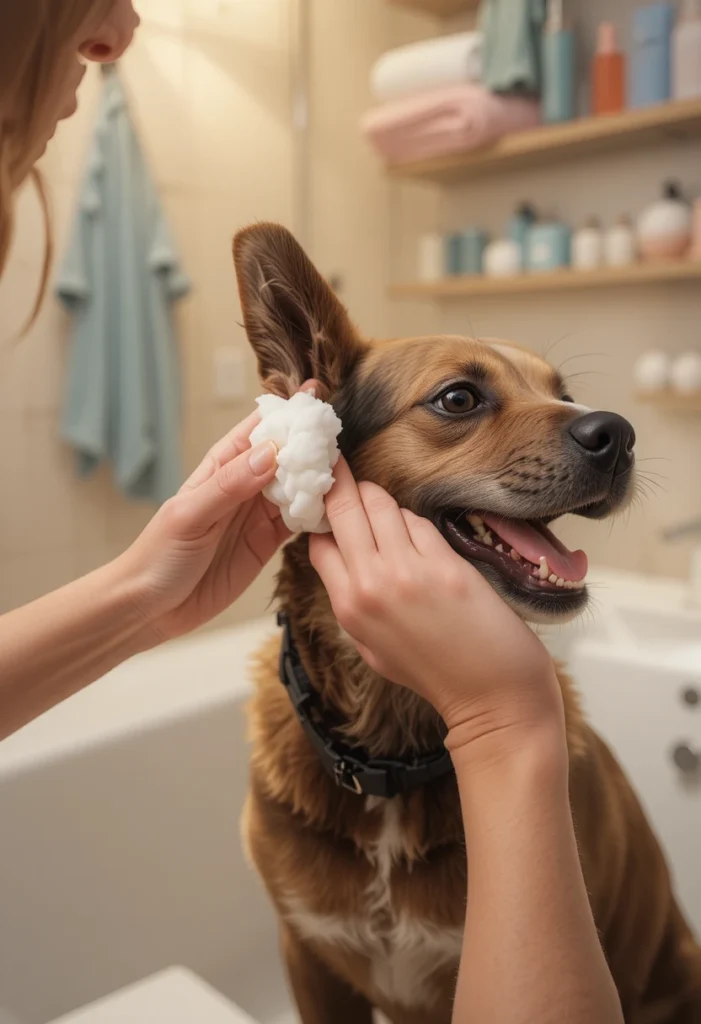
Using a cotton ball or gauze pad, gently wipe visible debris from the outer ear and ear flap. Avoid going deeper into the canal than about one knuckle’s depth, and wipe away any liquid that ended up on your dog’s face after the shake.
Step 8: Reward and Repeat on the Other Ear
Give your dog a treat and some praise, then repeat the same process on the second ear. Ending on a positive note helps make future cleanings easier.
Common Mistakes to Avoid
A few small missteps can turn a routine cleaning into an uncomfortable or even harmful experience.
Avoid these common errors:
- Using cotton swabs (Q-tips). They can push debris deeper into the canal or injure the eardrum. Never insert anything deep into the ear canal, and avoid using cotton swabs entirely.
- Inserting the bottle tip directly into the ear. This risks trapping pressure against the eardrum.
- Using harsh or unapproved liquids. Stick to a general-purpose ear cleanser free of alcohol, hydrogen peroxide, or other harsh chemicals.
- Cleaning ears when there’s already an active infection. More on this below.
- Rushing the process. A stressed, rushed cleaning is more likely to result in a squirmy dog and an incomplete job.
When You Should NOT Clean Your Dog’s Ears at Home
Not every ear situation is a DIY job. In some cases, at-home ear cleaning isn’t recommended, and dogs may need professional cleaning by a veterinarian to prevent further injury particularly if there are already signs of a problem.
Signs that mean it’s time to call the vet instead of reaching for the cleaner:
- Strong or foul odor coming from the ear
- Excessive redness, swelling, or heat
- Dark, coffee-ground-like discharge
- Visible blood
- Your dog yelping, flinching, or pulling away when the ear is touched
- Persistent head-shaking or scratching at the ear
- Signs of pain or discomfort during handling
If you notice any of these symptoms, it’s best not to attempt cleaning at home, since doing so could actually worsen the condition. A vet visit at this stage is faster, safer, and often prevents a much bigger (and more expensive) problem down the road.
Tips for Nervous or Wiggly Dogs
Not every dog takes to ear cleaning right away, especially if they’ve never been conditioned to it. A few adjustments can make a big difference:
- Start slow with short handling sessions before you even introduce the cleaning solution simply touching and gently massaging the ears, rewarded with treats, builds tolerance over time.
- Keep sessions short. A quick, calm cleaning beats a long, stressful one.
- Use a consistent routine and location so your dog learns to associate ear care with a predictable, low-stress experience.
- Consider doing it outside or over an easy-to-clean surface performing ear cleanings outdoors, weather permitting, or having a towel ready, helps manage any mess from the cleaning solution.
- Watch your own energy. Dogs pick up on tension, so a calm, patient handler makes for a calmer dog.
If your dog remains extremely distressed no matter how gently you approach it, a professional groomer or your veterinarian’s technician can step in there’s no shame in outsourcing this one if it’s simply not working at home.
Puppy Ear Care: When to Start
If you have a puppy, you might be wondering whether it’s too early to start. You may not need to start full cleanings yet, but getting your puppy used to a regular grooming routine early on helps them feel comfortable with the process as adults.
Begin with simple, positive handling gently touching and lifting the ears, pairing it with treats long before you introduce any solution. This early conditioning pays off enormously later, making actual cleanings far less stressful for both of you.
Frequently Asked Questions
How often should I clean my dog’s ears?
Most dogs benefit from a monthly cleaning, though breeds with floppy or hairy ears, or dogs who swim often, may need it every one to two weeks.
Can I use hydrogen peroxide to clean my dog’s ears?
It’s best avoided. Hydrogen peroxide can irritate the sensitive ear canal lining and leave behind moisture that encourages bacteria and yeast growth.
What if my dog’s ears smell bad even after cleaning?
A persistent odor after cleaning can be a sign of an underlying infection or skin issue. It’s worth scheduling a vet visit rather than continuing to clean at home.
Is it normal for my dog to shake their head after ear cleaning?
Yes head shaking is a natural, helpful part of the process that helps move loosened debris and solution out of the ear canal.
Can I use cotton swabs to clean my dog’s ears?
No. Cotton swabs can push debris further into the canal or cause injury. Stick to cotton balls or gauze, and never go deeper than about one knuckle’s depth.
Final Thoughts
Learning how to clean a dog’s ears at home is a small investment of time that pays off in a big way fewer infections, fewer vet bills, and a dog who’s more comfortable day to day. With the right supplies, a calm approach, and a little patience, it can become just another normal part of your grooming routine, right alongside brushing and nail trims.
And remember: if anything ever looks, smells, or feels off, there’s no harm in letting your veterinarian take a look. At-home care handles the maintenance but knowing when to call in the professionals is just as important a skill.