
If you’ve ever pulled a sweater out of the dryer only to find it coated in dog hair, or found yourself vacuuming the same corner of the living room for the third time this week, you already know the struggle. Shedding is one of the most universal (and frustrating) parts of dog ownership but here’s the good news: with the right routine, tools, and technique, you can dramatically cut down on loose fur without ever stepping foot in a professional grooming salon.
Deshedding isn’t the same as regular brushing. It’s a targeted process designed to remove the loose, dead undercoat before it ends up on your couch, your clothes, and your carpet. Done right, at home, on a consistent schedule, it can transform a fur-covered house into a manageable one and it’s a lot easier (and cheaper) than most people expect.
This guide walks you through exactly how to deshed a dog at home, step by step, with the right tools, techniques, and timing for your dog’s specific coat type.
Why Do Dogs Shed in the First Place?
Before grabbing a brush, it helps to understand what’s actually happening. Dogs (and most mammals) shed as part of a continuous hair growth cycle made up of four phases:
- Growth phase — new hair grows from the follicle
- Transition phase — the hair stops growing and reaches full length
- Resting phase — the hair is fully grown but inactive
- Shedding phase — the old hair releases to make room for new growth
Most dogs shed year-round to some degree, but many breeds especially double-coated ones go through heavier seasonal “coat blows” in spring and fall as they swap a heavier winter coat for a lighter summer one. Hormonal changes, such as those after spaying or neutering, can also increase shedding. If your dog suddenly starts shedding far more than usual, or you notice bald patches, redness, or irritated skin, it’s worth a quick check-in with your vet, since that can sometimes signal an underlying health issue rather than normal shedding.
Step 1: Gather the Right Deshedding Tools
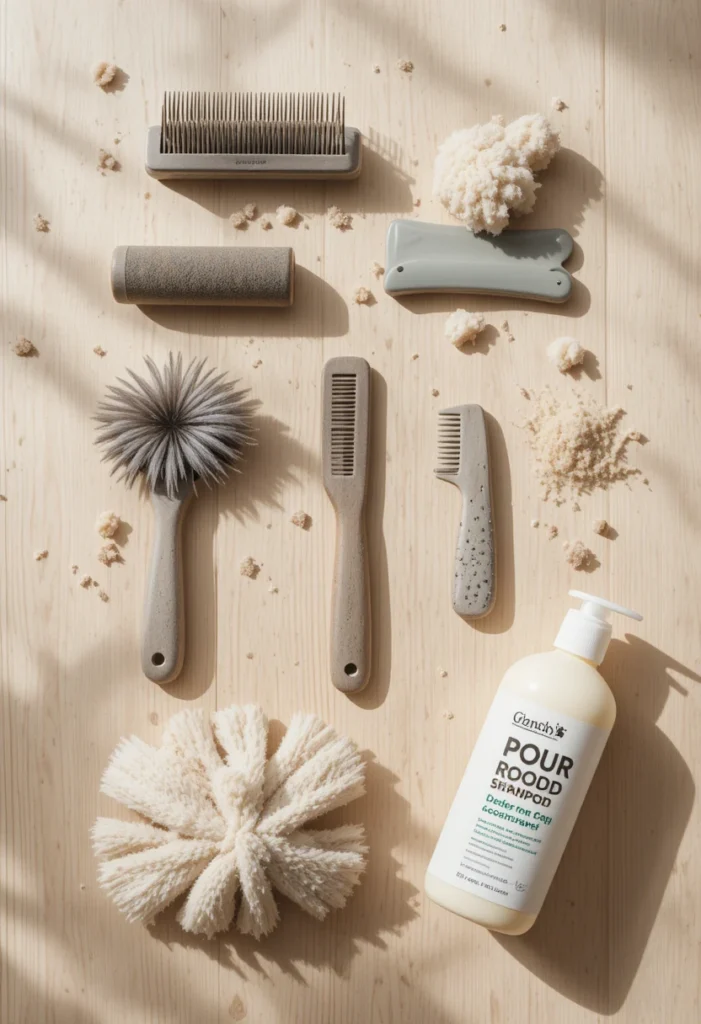
Not all brushes are created equal, and using the wrong tool on the wrong coat type can actually cause discomfort or damage. Here’s a quick breakdown of the main tool types:
- Undercoat rakes Long teeth designed to reach through thick topcoats and pull loose undercoat fur free. Ideal for double-coated breeds like Huskies, German Shepherds, and Golden Retrievers.
- Deshedding blades/tools (like a FURminator-style tool) A fine-toothed metal edge that skims the coat and lifts loose undercoat hair without cutting the topcoat.
- Slicker brushes Fine, closely-spaced wire pins, great for curly or medium-length coats and for working out light tangles.
- Shedding combs Versatile combs with varying tooth spacing, useful for finishing touches and checking for missed mats.
- Rubber curry brushes/mitts reat for short-haired breeds; the rubber nubs loosen dead hair while giving your dog a gentle massage.
Pro tip: Match the tool to your dog’s coat, not the other way around. A slicker brush on a thick Husky undercoat won’t do much, and a heavy-duty rake on a smooth-coated Beagle can actually irritate the skin.
Read Also: 14+ Hypoallergenic Dog Breeds That Won’t Leave You Reaching for Tissues
Step 2: Check Your Dog’s Coat and Skin First
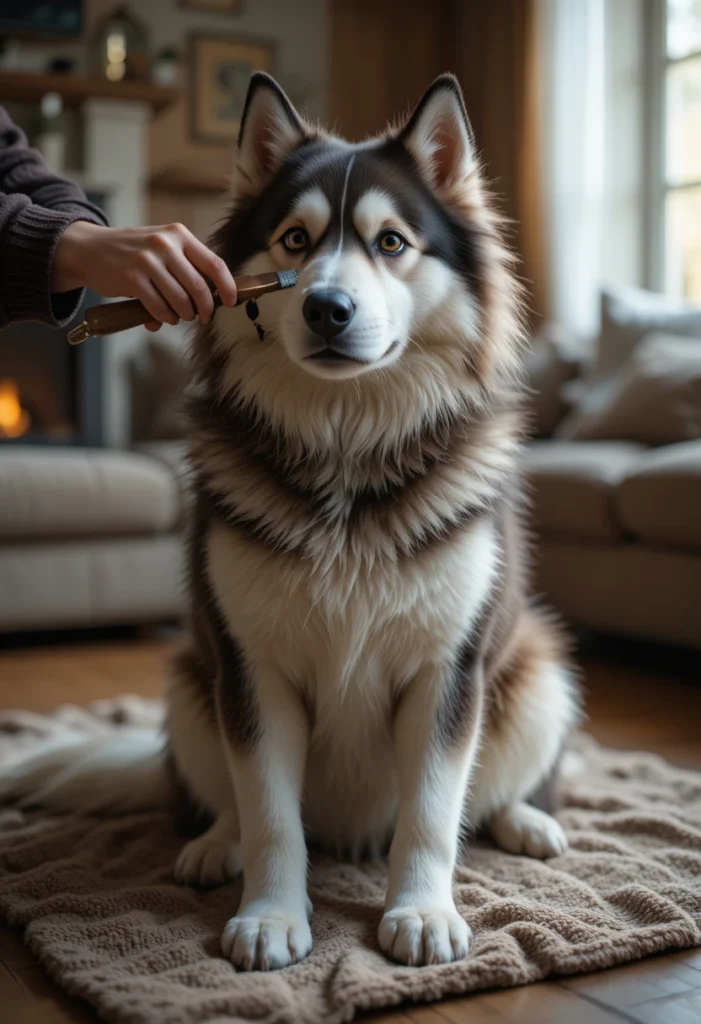
Before you start brushing, run your hands over your dog’s entire body. You’re checking for:
- Mats or tangles (especially behind the ears, armpits, and hindquarters)
- Any sores, bumps, redness, or signs of irritation
- Fleas or ticks hiding in dense fur
If you find a mat, don’t try to rip through it with a deshedding tool that can hurt your dog and damage the coat. Gently work it apart with your fingers first, or use a dematting comb, then move on to the deshedding process.
Step 3: Brush Before the Bath (Dry Brushing)
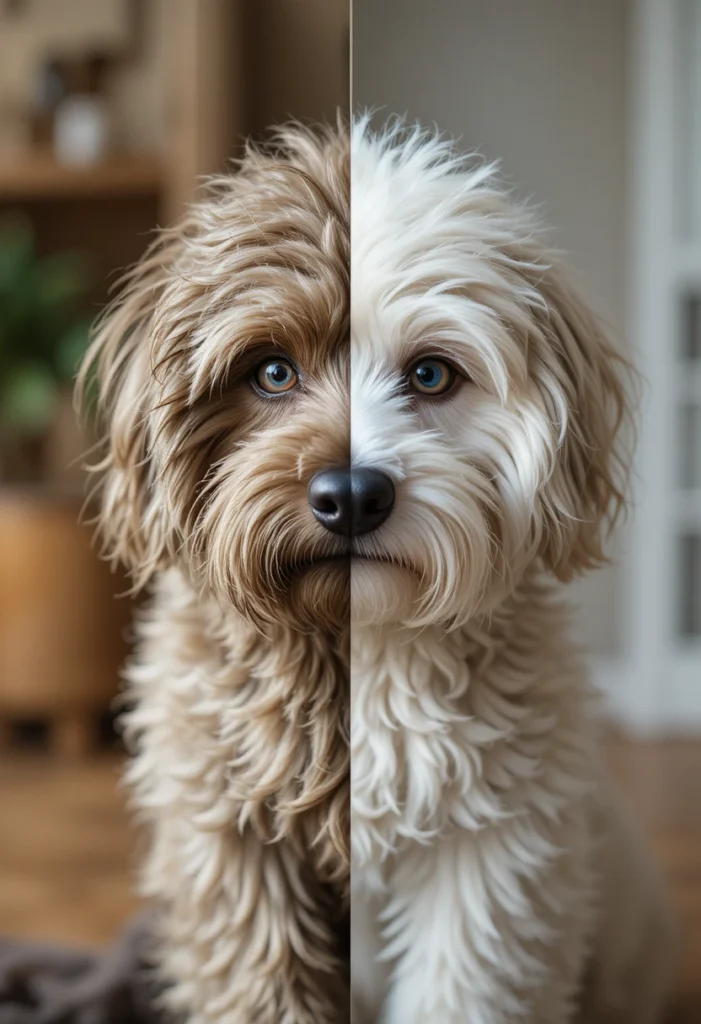
Start with a dry brush-through using an undercoat rake or deshedding tool. This removes the top layer of loose hair before water gets involved, which makes the bath itself far less messy and much more effective.
How to do it:
- Start at the head and work your way down the body in small sections, always brushing in the direction of hair growth.
- Use light, even strokes let the tool do the work rather than pressing hard.
- Pay extra attention to high-shed zones: the chest, belly, hindquarters, and tail.
- Stop and check your dog’s body language often. Panting, pulling away, or flinching means it’s time to ease up or take a break.
💡 Quick tip: Brushing your dog outside or in a garage (weather permitting) means you skip the indoor cleanup entirely — a small change that saves a surprising amount of vacuuming later.
Step 4: Bathe with a Deshedding Shampoo and Conditioner
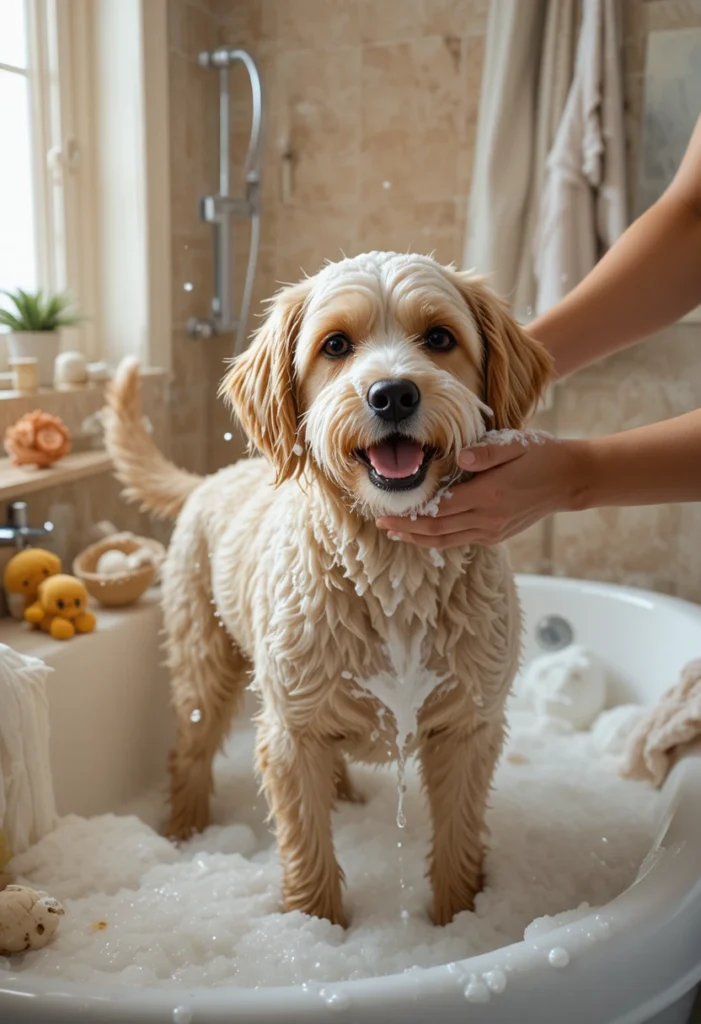
This is where the real magic happens. Warm water and the right shampoo help loosen dead undercoat hair from the follicle, making it far easier to remove than dry fur alone.
How to do it:
- Wet your dog thoroughly with lukewarm water.
- Massage in a deshedding shampoo, working it deep into the coat and down to the skin not just the surface.
- Let it sit for a few minutes (check the product label for exact timing) so it can help loosen the undercoat.
- While the shampoo is still in, gently run a deshedding rake or rubber curry brush through the coat. You’ll be amazed at how much loose fur comes away right in the tub.
- Rinse thoroughly, then follow up with a deshedding conditioner to further loosen remaining dead hair and leave the coat soft and healthy.
- Rinse again thoroughly. Leftover product can irritate skin and actually contribute to more shedding and itchiness.
Step 5: Dry and Brush Again
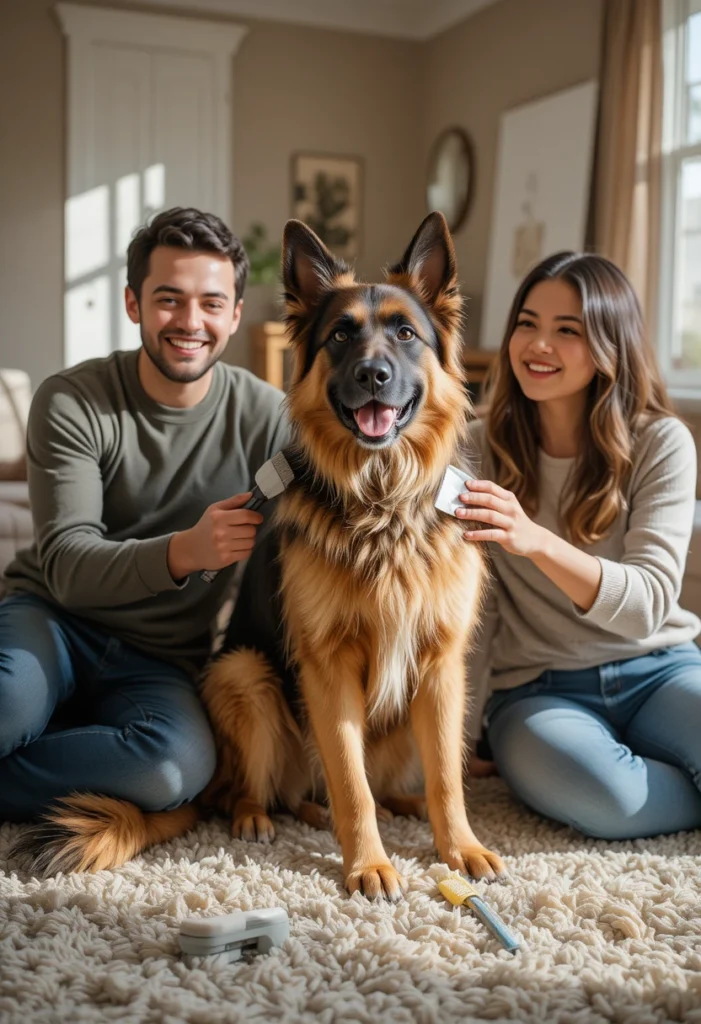
Once your dog is out of the bath, resist the towel-and-done approach. A proper drying and brush-out is where you’ll remove the last of the loosened undercoat.
How to do it:
- Towel-dry to remove excess water.
- If you have access to a pet dryer or a blow dryer on a cool, low setting, use it while brushing the airflow helps push out remaining loose fur as you go.
- Brush the coat section by section again, following the direction of hair growth.
- Finish with a metal comb to catch any last bits of loose fur and double-check for missed tangles.
A word of caution: Never use a hot dryer setting directly against the skin, and never leave a dog unattended under a stand dryer. Cool, gentle airflow combined with steady brushing is both safer and more effective.
Step 6: Maintain a Regular Deshedding Schedule
Deshedding isn’t a once-and-done job consistency is what actually keeps the fur under control long-term.
- Heavy shedders (double-coated breeds like Huskies, Labs, German Shepherds): Deshed 1–2 times per week, and daily during seasonal coat blows.
- Moderate shedders: Once a week is usually enough.
- Low-shedding breeds (Poodles, Bichons): A regular brush-out every week or two, focusing more on preventing mats than removing undercoat.
What NOT to Do When Deshedding a Dog at Home
A few common mistakes can do more harm than good:
- Don’t shave a double-coated dog to “solve” shedding. It doesn’t stop shedding it just makes the loose hairs shorter and pricklier. Worse, it can damage the coat’s ability to regulate temperature and, in some cases, cause the fur to grow back patchy, a different texture, or not at all.
- Don’t press too hard with a deshedding blade. Staying in one spot too long or applying too much pressure can cause skin irritation or bald patches.
- Don’t skip the skin check. Mats hide skin problems, and brushing straight over one can hurt your dog and worsen irritation underneath.
- Don’t rely on brushing alone if your dog is a heavy shedder. Brushing helps, but for thick, double-coated breeds, the shampoo-and-rake combination in the bath is what really moves the needle.
Bonus: Managing Shed Fur Around the House
Even with a great deshedding routine, a little bit of fur is going to find its way onto your furniture. A few simple habits can help:
- Cover high-traffic furniture with washable throws or slipcovers that can go straight in the wash.
- Invest in a good pet hair remover tool or lint roller for quick touch-ups on couches, car seats, and clothing.
- Vacuum with a pet-hair-specific attachment at least twice a week during shedding season.
- Feed a balanced diet with omega-3 fatty acids, which supports healthy skin and coat and can help reduce excess shedding over time.
Frequently Asked Questions
How often should I deshed my dog at home?
It depends on the breed and coat type. Heavy double-coated shedders benefit from deshedding once or twice a week (daily during seasonal shedding), while low-shedding breeds may only need it every couple of weeks.
Does shaving a dog stop shedding?
No and for double-coated breeds, it’s not recommended at all. Shaving doesn’t stop the shedding cycle; it just makes the hairs shorter, and it can permanently damage the coat’s texture and the dog’s ability to regulate body temperature.
What’s the best deshedding tool for heavy shedders?
Undercoat rakes and deshedding blades (like FURminator-style tools) tend to work best on thick, double-coated breeds, since they’re designed to reach through the topcoat and remove loose undercoat fur.
Can I deshed my dog too much?
Yes over-brushing or pressing too hard with a deshedding tool can irritate the skin or create bald spots. Gentle, consistent sessions are more effective (and safer) than one aggressive session.
Is it better to deshed a wet or dry dog?
Both steps matter. A dry brush-out before the bath removes the top layer of loose hair, while a deshedding shampoo and rake during the bath loosen and remove the undercoat more thoroughly. Finishing with a brush-out during drying catches what’s left.
Final Thoughts
Deshedding your dog at home doesn’t require a professional groomer’s toolkit or hours of your day just the right tools, a little technique, and a consistent routine. By combining dry brushing, a proper deshedding bath, and thorough drying, you’ll pull far more loose fur out at the source instead of finding it scattered across your home. Add in a regular schedule based on your dog’s coat type, and you’ll notice the difference in both your floors and your dog’s coat health.
Your dog gets a healthier coat, fewer mats, and a nice massage in the process. You get a cleaner house and a lot less lint-rolling. That’s a win for everyone in the house four-legged included.