
Your cat tilts her head, gives it one hard shake, and suddenly you’re staring into an ear canal that looks like someone spilled coffee grounds inside it.
If that image just made your stomach drop, you’re not alone. Most cat owners have no idea what “normal” cat ear wax even looks like, let alone how to safely clean it out without triggering a scratch-fest or a trip to urgent care for your own hands.
Here’s the good news: cleaning your cat’s ears at home is one of the simplest grooming skills you can learn, and it takes less time than trimming their nails. You don’t need a vet tech certification. You need the right supplies, a little patience, and a system that actually works with your cat instead of against them.
This guide breaks down everything into 16+ practical, vet-informed ideas, from reading the warning signs before you even open a bottle of cleaner, to the exact massage technique that gets debris moving, to knowing the one moment you should stop and call your vet instead. Save this guide now, because idea number 9 is the one most people skip, and it’s the reason so many at-home cleanings fail.
Let’s get your cat’s ears clean, comfortable, and infection-free.
Why Cat Ear Cleaning Actually Matters
Cats are famously fastidious groomers. They can reach almost every inch of their body with that sandpaper tongue, but their ear canals are the one spot totally out of reach.
Left unchecked, normal wax and debris can build up, trap moisture, and create the exact environment that bacteria, yeast, and ear mites love to move into. Left untreated, that buildup can lead to inflammation, chronic head shaking, and in severe cases, damage to the eardrum or balance issues.
Clean ears are not just about odor control. They’re a genuine health checkpoint. A quick weekly peek lets you catch problems early, long before your cat is in real pain.
Quick truth to remember: you’re not trying to scrub your cat’s ears spotless every single day. You’re checking in, and cleaning only when there’s something there to clean.
Do Your Cat’s Ears Actually Need Cleaning?
Not every cat needs regular ear cleaning, and that surprises a lot of new cat owners. Many healthy indoor cats go months without needing a single cleaning.
Before you gather supplies, take a look inside. Gently fold back the ear flap and check for:
- A light amount of pale tan or light brown wax (this is normal)
- No strong odor
- No redness, swelling, or visible irritation
- No dark, crumbly debris that resembles coffee grounds
If the ear looks clean, smells like nothing in particular, and your cat isn’t scratching or shaking their head, you can skip cleaning entirely and just check again next week.
If you do spot visible wax, mild debris, or a faint odor, that’s your cue that a cleaning is due.
Save this for later: a weekly 10-second ear peek is the single easiest habit that prevents 90% of at-home ear problems from ever starting.
Ear Wax or Ear Mites? Know the Difference First
This is the step most guides bury, and it’s arguably the most important one on this list.
Normal cat earwax is light tan to golden brown, minimal in amount, and doesn’t have a strong smell. Ear mite debris looks completely different: dark reddish-brown to black, dry, and crumbly, closely resembling used coffee grounds. It’s often accompanied by intense itching, frequent head shaking, and sometimes a scabby crust near the base of the ear.
A foul, yeasty, or sour odor combined with redness usually points to a bacterial or fungal infection rather than simple wax buildup.
Here’s the thing: routine cleaning is meant for normal wax and light debris. If you suspect mites or an infection, cleaning at home first is still fine in most cases (your vet will likely ask you to clean before applying any treatment anyway), but you’ll want to get a proper diagnosis before assuming a cleaner alone will fix it. Self-treating a suspected infection without knowing the actual cause can sometimes make things worse.
What You’ll Need Before You Start
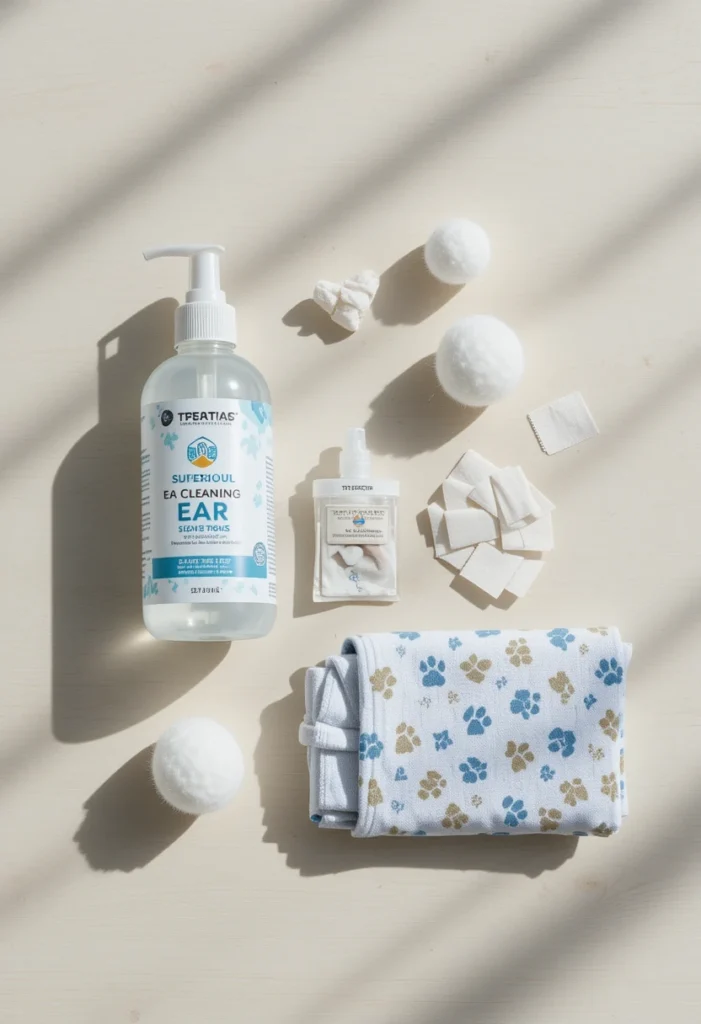
Gathering everything in advance is the difference between a smooth five-minute cleaning and a chaotic chase around the living room. Here’s your at-home ear care kit:
- A vet-approved cat ear cleaning solution
- Cotton balls or soft gauze pads (never cotton swabs)
- A soft towel
- Cat treats for positive reinforcement
- A helper, if your cat tends to squirm
That’s genuinely it. No vinegar, no hydrogen peroxide, no rubbing alcohol, no essential oils. These common household “hacks” can sting sensitive ear tissue, disrupt the ear’s natural pH, and in some cases cause real damage. Stick to a solution formulated specifically for cat ears.
Now let’s get into the full list of ideas that will make the actual cleaning process fast, calm, and effective.
16+ Ideas for Cleaning Your Cat’s Ears at Home
1. Pick the Right Moment
Timing matters more than most people realize. Never attempt an ear cleaning right after a play session, a startling noise, or when your cat is already agitated. Instead, choose a quiet window when your cat is naturally relaxed, like after a meal or during a lazy afternoon nap mood.
A calm cat is a cooperative cat. Rushing this step almost always backfires.
2. Lay Everything Out Within Arm’s Reach
Once you start, you want zero interruptions. Line up your cleaner, cotton balls, towel, and treats on a nearby surface before you even pick up your cat. Digging through a drawer mid-cleaning with a squirming cat in your lap is how spills, scratches, and abandoned attempts happen.
3. Do a Visual Check Before You Clean Anything
Gently lift the ear flap and look inside before applying any solution. You’re checking for redness, swelling, unusual odor, or the dark, crumbly debris associated with mites. If anything looks seriously off, pause the cleaning and call your vet instead of proceeding on your own.
Save-worthy tip: cleaning can actually mask early infection signs, so always look first, clean second.
4. Get Your Cat Comfortable in Your Lap
Coax your cat onto your lap in a familiar spot where they usually relax. Speak in a soft, steady voice the entire time. Your tone matters here almost as much as your technique. Cats pick up on tension immediately, so staying calm yourself helps keep them calm too.
5. Use the Towel Burrito Trick for Wiggly Cats
If your cat is more escape artist than lap cat, wrap them snugly in a soft towel with just their head exposed. This isn’t about restraint for restraint’s sake. It’s about giving an anxious cat a sense of security, similar to swaddling. Most cats settle noticeably once they’re wrapped.
6. Bring in a Second Set of Hands
For cats who are especially wiggly or ear-sensitive, a helper makes a huge difference. One person gently holds and reassures the cat while the other handles the actual cleaning. This two-person system turns a stressful ordeal into a genuinely quick, manageable process.
7. Warm the Cleaner Slightly in Your Hands
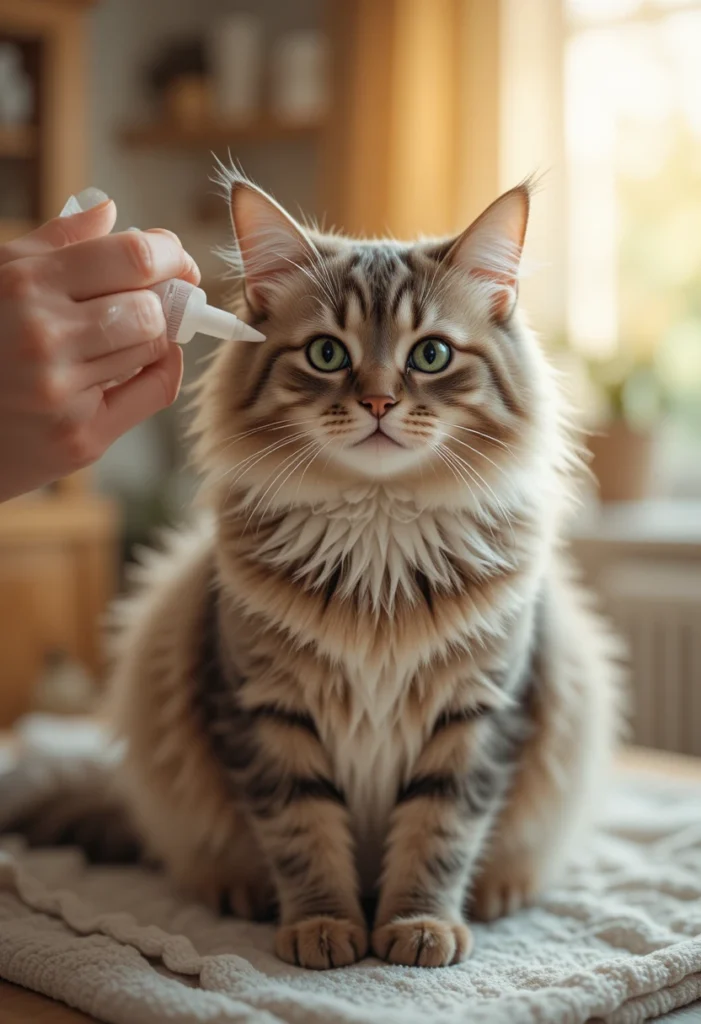
Cold liquid dripping into a warm ear canal is uncomfortable for anyone, human or feline. Hold the bottle in your closed hand for a minute before use to take the chill off. It’s a tiny detail that noticeably reduces flinching.
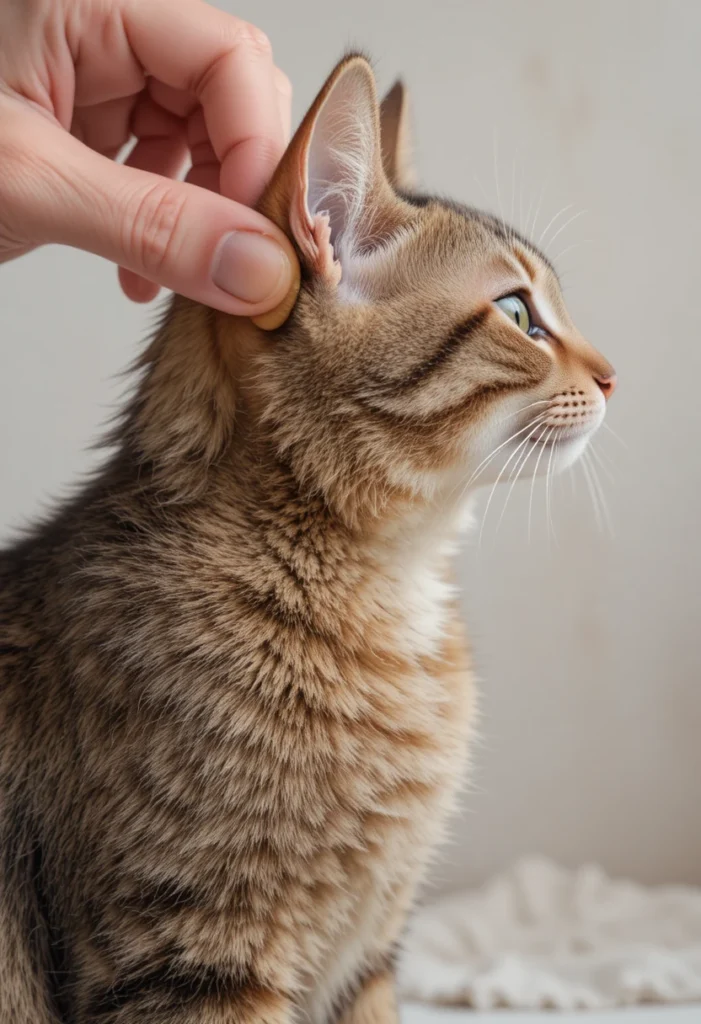
8. Gently Straighten the Ear Canal
With one hand, grasp the tip of the ear flap and pull it back and slightly up. This straightens the natural bend in the ear canal, which allows the cleaning solution to reach further in and do its job properly instead of just sitting at the entrance.
9. Fill the Canal, Don’t Just Dab the Entrance
This is the tip most people get wrong, and it’s exactly why so many at-home cleanings don’t actually work. A quick swipe with a damp cloth might look tidy, but it barely touches the debris sitting deeper in the canal. Instead, position the cleaner’s nozzle just above the ear opening (without touching the ear itself) and squeeze in enough solution to genuinely fill the canal. A little overflow is completely normal and expected.
Read Also: 16+ Cheapest Pet Insurance Options for Dogs (2026 Ideas Worth Comparing)
10. Massage the Base of the Ear for 20 to 30 Seconds
Immediately after applying the solution, gently massage the base of the ear, right below the opening, using your fingers. You’re looking for a soft, squishing sound. That sound means the solution is actively breaking down wax and loosening debris from the canal walls. This step does more heavy lifting than the wiping step that follows it.
11. Let Your Cat Shake It Out
Once you release the ear, step back and let your cat shake their head. This is a normal, healthy part of the process. The shaking helps bring loosened debris and excess solution up and out of the canal, making the final wipe far more effective.
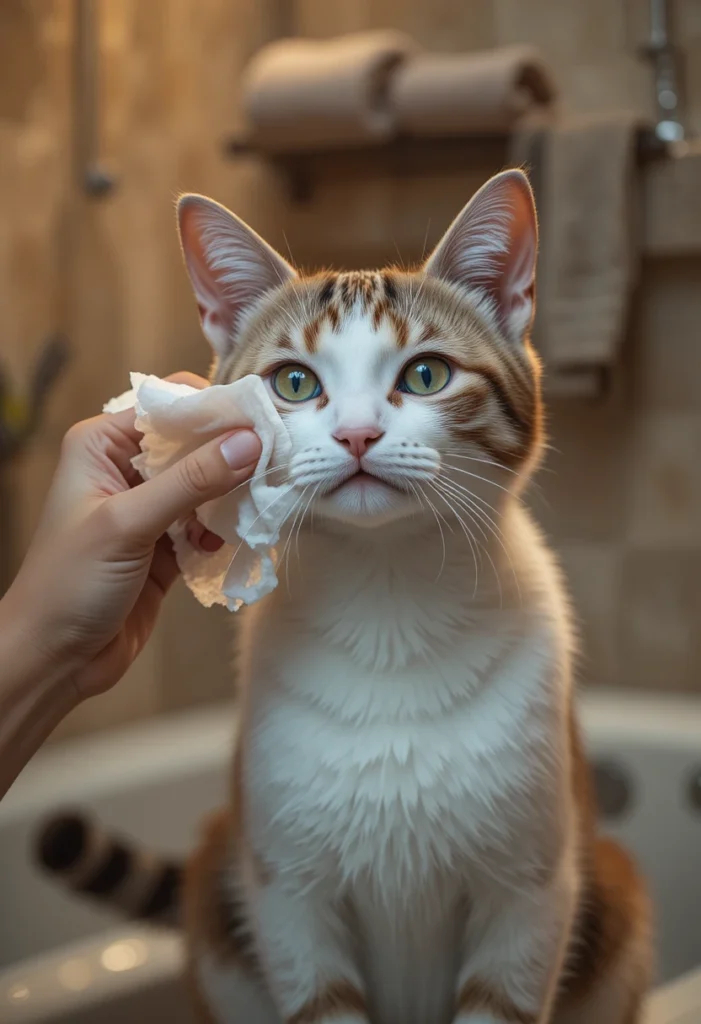
12. Wipe Away Debris with Cotton Balls Only
Using a cotton ball or soft gauze, gently wipe away the loosened wax and cleaner from the visible part of the ear flap and the upper part of the canal that you can see. Never insert anything, including cotton swabs, deep into the canal. Pushing debris further down can compact it against the eardrum instead of removing it, which can cause real damage.
13. Reward Immediately, Every Single Time
The moment the ear is done (or even if your cat only tolerates a partial cleaning), offer a treat and genuine praise right away. This immediate positive association is what turns “ear cleaning” from a dreaded event into something your cat learns to tolerate, and eventually barely notices.
14. Repeat on the Second Ear
It’s tempting to call it quits after one ear, especially if your cat is getting restless. But an ear that’s skipped today just means double the buildup next time. If your cat has genuinely had enough, it’s completely fine to do the second ear a few hours later or the next day rather than forcing it.
15. Go Slow with Kittens and First-Timers
If you’re working with a kitten or a cat who’s never had their ears handled before, don’t attempt a full cleaning on day one. Start by simply touching and gently massaging the ears with no product involved, just to build tolerance. Once your cat is comfortable with handling alone, introduce the actual cleaning solution in small amounts, always with plenty of praise.
16. Know Your Cat’s Personal Cleaning Schedule
There’s no universal answer to “how often should I clean my cat’s ears.” Most healthy indoor cats need cleaning only occasionally, sometimes just once every few months, when visible debris shows up. Outdoor cats, cats with allergies, and certain breeds like Scottish Folds and Sphynx cats often need more frequent attention due to their ear shape or lack of protective fur. Let what you actually see during your weekly check guide your schedule instead of a fixed calendar reminder.
17. Watch Closely for Ear Mite Warning Signs
Even with a solid cleaning routine, keep an eye out for the telltale signs of ear mites: dark, dry, crumbly discharge, intense scratching, frequent head shaking, and ears held flat against the head. Mites are highly contagious between pets in the same household, so a mite diagnosis in one cat usually means checking any other pets too.
18. Know Exactly When to Stop and Call the Vet
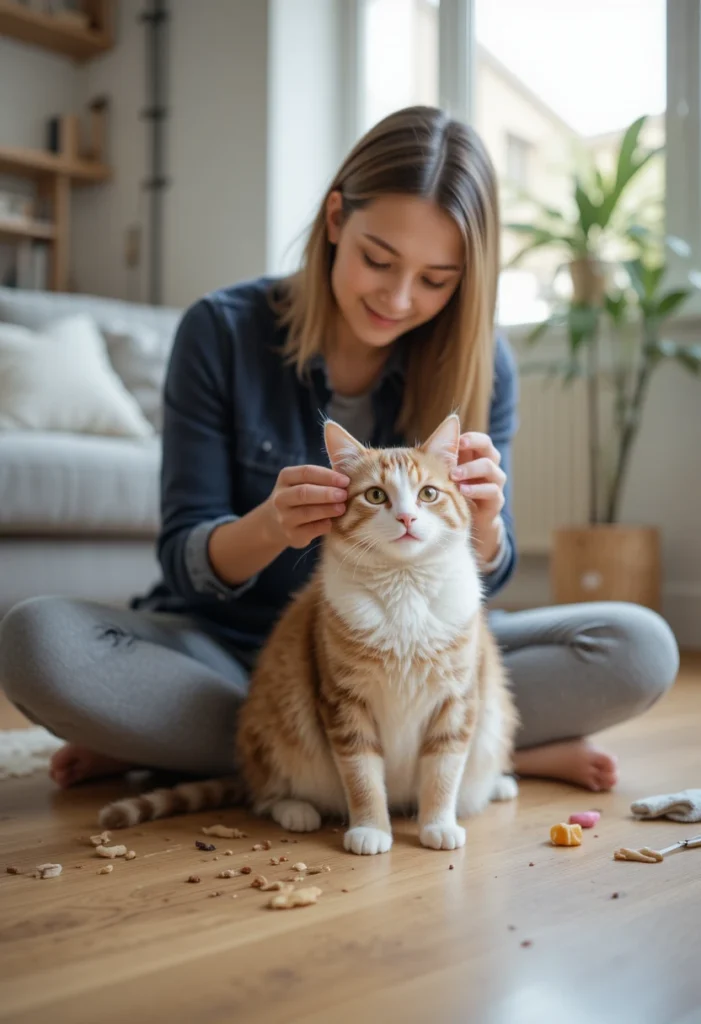
This is the most important idea on the entire list. Stop the at-home cleaning and contact your veterinarian if you notice any of the following:
- Redness, swelling, or visible pain when the ear is touched
- A strong, foul odor
- Excessive dark discharge that doesn’t improve after gentle cleaning
- A head tilt, loss of balance, or walking in circles
- Bleeding or visible injury inside the ear
That last symptom in particular, a head tilt or balance issue, means you should skip home cleaning entirely and get to a vet promptly, since it can point to a deeper inner ear problem.
Frequently Asked Questions
How often should I clean my cat’s ears?
Most healthy cats only need their ears checked weekly and cleaned occasionally, when visible wax or debris shows up. Cats with floppy or hairless ears, outdoor cats, and those prone to allergies may need more frequent cleanings, so let what you actually see guide your schedule.
Can I use olive oil or coconut oil to clean my cat’s ears?
Some owners use a small amount of coconut or mineral oil to loosen debris, but this should only be done with your veterinarian’s guidance, especially if there’s any chance of an underlying infection or a damaged eardrum. A vet-formulated ear cleaner is the safer default choice.
Why does my cat’s ear smell bad even after cleaning?
A persistent odor after cleaning is a strong signal of a bacterial or yeast infection rather than simple wax buildup. This isn’t something a home cleaning alone will resolve, so it’s worth a vet visit for proper diagnosis and treatment.
Is it normal for my cat to shake their head after cleaning?
Yes, head shaking after applying ear cleaner is completely normal and actually helpful, since it brings loosened debris up and out of the canal, making your final wipe more effective.
What if my cat won’t let me clean their ears at all?
Start slow with short handling sessions and no product involved, building up your cat’s comfort over several days before introducing the actual cleaner. If your cat remains extremely resistant or seems to be in pain, a groomer or veterinarian can safely handle the cleaning instead.
Are cotton swabs ever safe to use in a cat’s ear?
No. Cotton swabs should never go into the ear canal. They tend to push wax and debris further down rather than removing it, which can compact material against the eardrum and cause injury. Stick to cotton balls or gauze on the visible, outer portion of the ear only.
The Takeaway
Cleaning your cat’s ears at home doesn’t need to be a wrestling match or a source of dread for either of you. With the right supplies, a calm moment, and a technique that actually reaches the debris instead of just wiping the surface, it becomes a quick, manageable part of your regular grooming routine.
Start with a weekly ear check, clean only when there’s genuinely something to clean, and always trust your instincts when something looks or smells off enough to call your vet.