
There’s a specific kind of fear that hits when your dog suddenly collapses and doesn’t get back up. Your mind goes blank, your hands shake, and every second feels like it’s slipping away. In that moment, knowing exactly what to do not roughly, not “I saw it in a movie once,” but exactly can be the difference between a story that ends in relief and one that doesn’t.
Pet CPR isn’t something you want to learn for the first time while it’s happening. It’s a skill you build now, calmly, so that if the moment ever comes, your hands already know what to do before your brain catches up.
Before we go further: this guide is educational and does not replace hands-on training or emergency veterinary care. CPR is potentially hazardous and can cause physical complications if performed on a dog that doesn’t actually need it it should only be used when necessary. If your dog is showing any signs of distress, call your vet or the nearest emergency animal hospital immediately, even if you also start CPR on the way.
With that said, here are 13+ essential things to know about performing pet CPR.
1. Know When CPR Is Actually Needed and When It’s Not

This is the single most important tip on this list, and it comes before any physical technique. Dog CPR should only be performed when your dog shows no signs of breathing and has no detectable heartbeat dogs who are still responsive, even if showing low energy or breathing differently, do not need CPR.
Bucket brigade: So before anything else, you need to actually confirm the emergency is real.
2. Check for Responsiveness First
Start by checking for responsiveness call your dog’s name and gently touch them to see if they react. If your dog does not respond when called or shaken, is not breathing, and allows you to open their mouth without resistance, their life is at risk and CPR may help.
Critical safety note: you shouldn’t attempt chest compressions if your dog is alert and able to bite you a distressed, conscious dog can bite reflexively, even one that’s never bitten anyone before.
3. Clear the Airway Before Anything Else
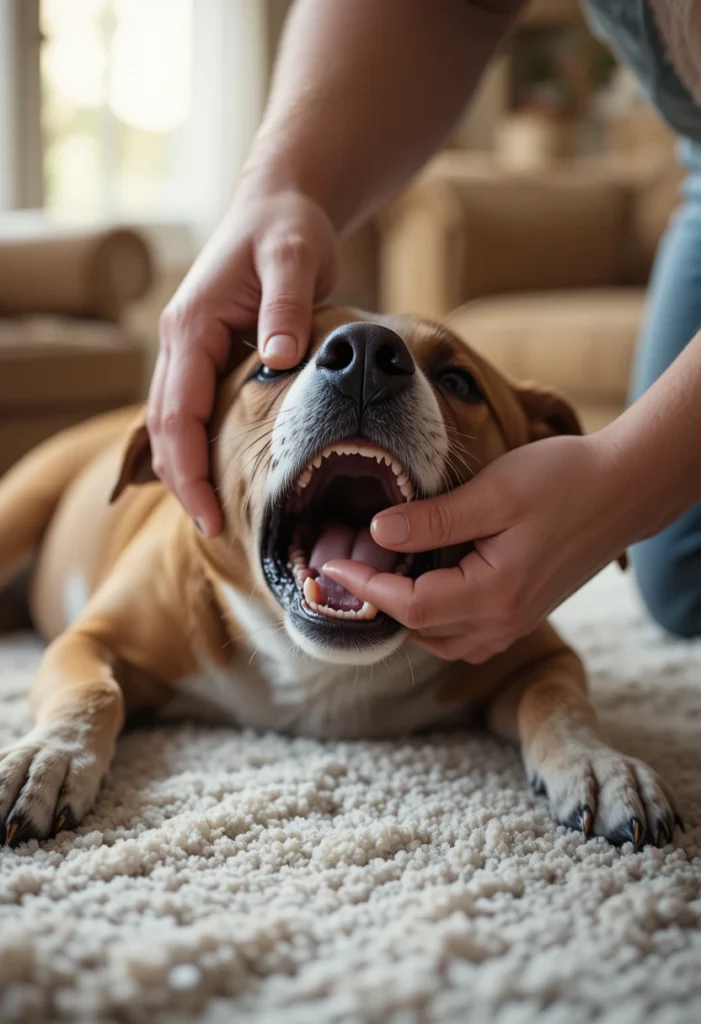
Open your dog’s mouth and check for any obstructions, removing them carefully if you see any. Make sure the dog’s airway is completely clear of objects before proceeding with any further steps. A blocked airway means breaths won’t reach the lungs no matter how well you perform the rest of CPR.
Read Also: 14+ Best Dog Shampoo for Sensitive Skin Ideas (And What Actually Works)
4. Check for a Pulse the Right Way
Don’t guess locate the actual pulse point. You can check for a pulse by feeling the femoral artery, located on the inside of the hind leg near the groin. If you’re unsure whether a pulse is present, the safest move is to start chest compressions anyway hesitating to double-check costs precious time.
5. Position Your Dog Correctly
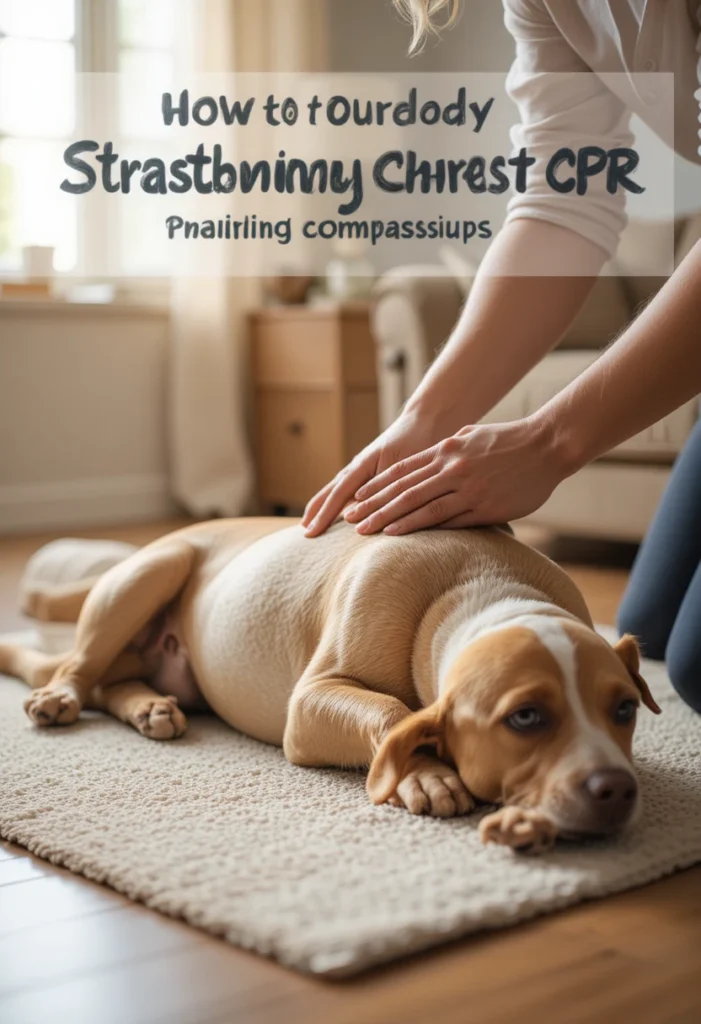
Place your dog on their right side on a flat, firm surface, and extend the head and neck to help keep the airway open. A firm surface matters here compressions on a soft bed or cushion won’t effectively move blood through the body.
6. Hand Placement Depends on Your Dog’s Size and Chest Shape
This is where a lot of well-meaning people get it wrong, and it genuinely changes how effective compressions are. For cats, small dogs, and deep-chested dogs, place the heel of one hand directly over the pet’s heart and place your other hand directly over the first.
To find your dog’s heart, pull your dog’s elbow about a third of the way up their chest the heart is located just beneath the point of the elbow.
7. Barrel Chested Breeds Need a Different Approach
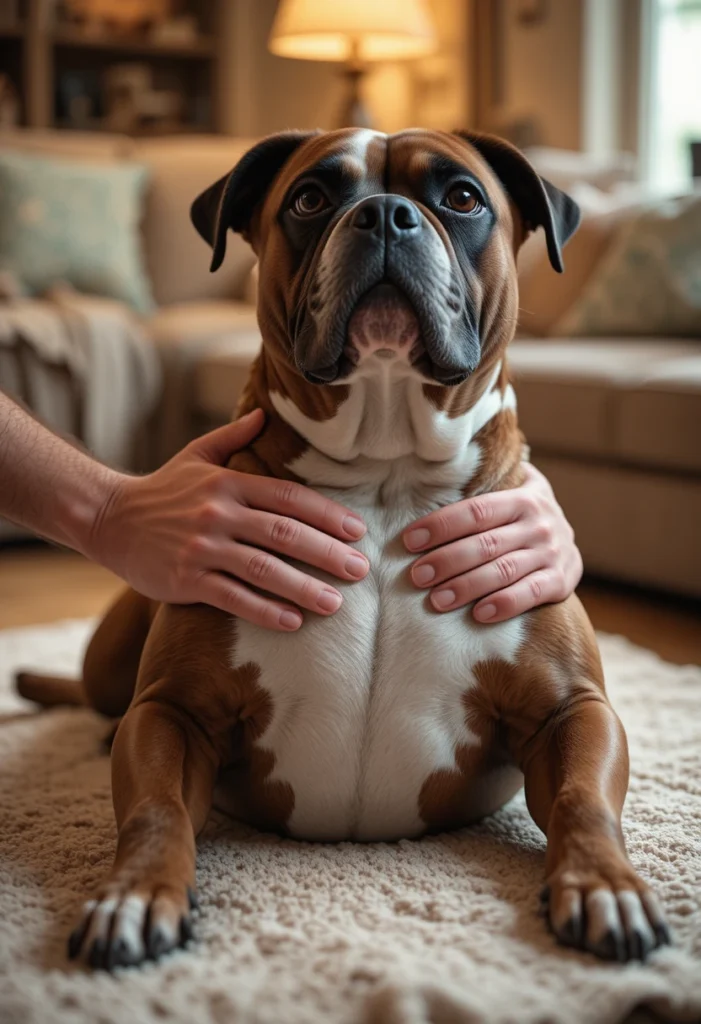
Breeds like Bulldogs, Boxers, and Pugs have a chest shape that changes where you should compress. For barrel-chested dogs, place the dog on its back, position one hand over the widest part of the sternum, and place your other hand directly over the first. For most other dogs, hands go over the widest part of the chest, while barrel-chested breeds need hands placed directly over the heart, behind the elbow instead.
8. Very Small Dogs May Only Need One Hand
For very small breeds Maltese, Yorkshire Terriers, Chihuahuas, and similar a one-handed technique works well: wrap your hand around the sternum at the level of the heart, thumb on top and fingers underneath. Too much force on a tiny chest can cause injury, so matching your technique to their size genuinely matters.
9. Get Your Body Position Right Before You Start Compressing

Lock your elbows and make sure your shoulders are positioned directly above your hands this lets you use your body weight rather than just arm strength, which matters over what could be several exhausting minutes.
10. Compress at the Right Rate and Depth
Speed and depth aren’t a “do your best” situation there’s an actual target. Push hard and push fast at a rate of 100-120 compressions per minute, compressing about one-third to one-half the width of your pet’s chest, and make sure the chest fully recoils before compressing again.
Memory trick that actually works: sing “Stayin’ Alive” in your head “ah, ah, ah, ah, staying alive” and press down on each “ah” to keep pace with the correct compression rate.
11. Follow the 30:2 Compression-to-Breath Ratio

Perform a total of 30 chest compressions, then stop and pause for about five seconds before giving two quick rescue breaths, then repeat the cycle. Remember to fully stop compressions before giving breaths otherwise the air won’t move properly into the lungs.
12. Give Rescue Breaths the Right Way
To give a rescue breath, gently close your pet’s mouth, extend their neck to open the airway, cover your pet’s nose with your mouth, and exhale until you see the chest rise then give a second breath the same way. Each breath should visibly cause the chest to rise; if it doesn’t, recheck that the airway is actually clear before continuing.
13. Keep Going Until Help Arrives Don’t Stop Too Soon

This part surprises people: CPR takes real endurance, not a quick 30-second attempt. Do your chest compressions firmly, steadily, and don’t stop for at least five minutes before checking again for a heartbeat or breathing. Continue performing CPR until you detect a heartbeat or breathing, or until you reach veterinary care.
14. Bring a Second Person In If You Can
CPR is exhausting, and fatigue reduces compression quality fast. If you have a helper, one person can give chest compressions while the second gives breaths, and rescuers can switch places every two minutes or so to prevent fatigue.
15. Get to the Vet While CPR Is Happening Don’t Wait
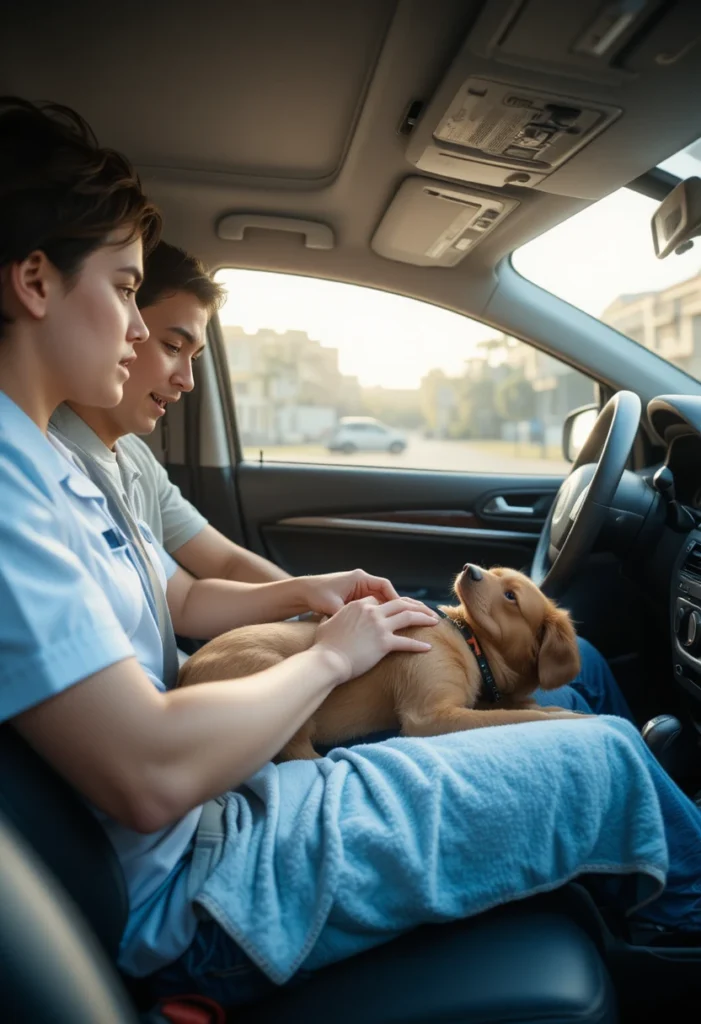
CPR is a bridge to professional care, not a replacement for it. If you have someone who can drive you to the nearest animal hospital, perform CPR steps while en route but if you’re alone with no one to help, don’t attempt CPR at all; instead, rush your pet to the closest emergency vet clinic. If you aren’t able to get to the vet yet, try to get a veterinarian on the phone to walk you through the steps in real time.
16. Learn Your Dog’s Normal Vital Signs Now, Before an Emergency
You can’t spot “abnormal” if you don’t know “normal.” Familiarize yourself with your dog’s normal heart rate, breathing rate, and gum color ahead of time, so you can quickly recognize when something is genuinely wrong. This single habit can shave critical seconds off your reaction time in a real emergency.
17. Take an Actual Pet CPR Class
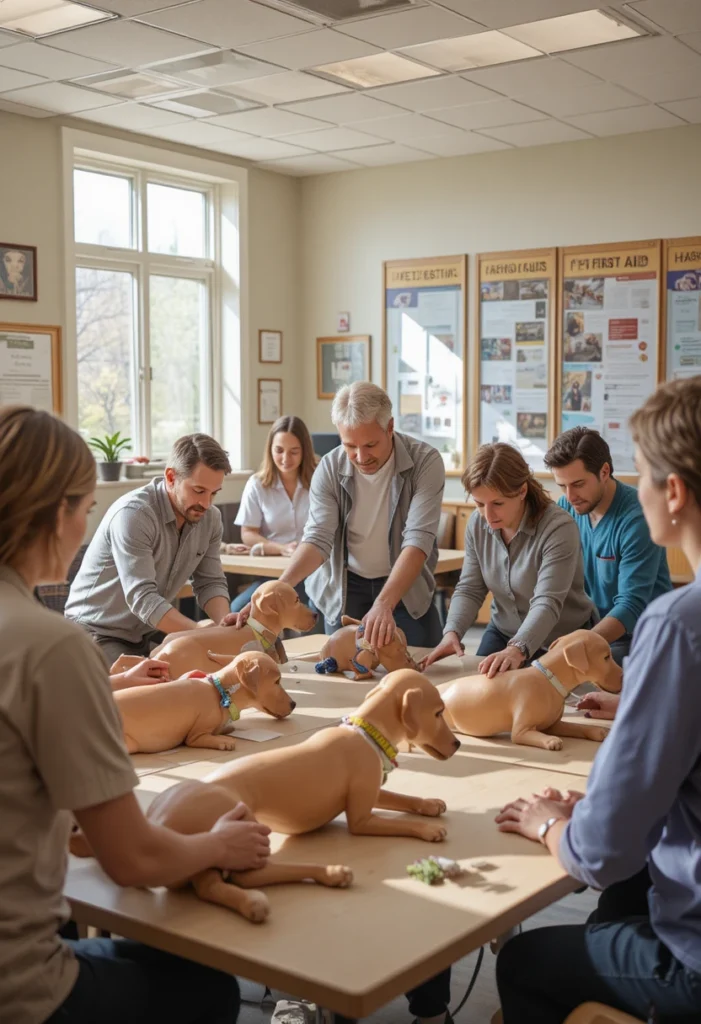
Reading about CPR and performing it under pressure are two very different experiences. Consider taking a pet CPR class to practice these techniques under professional guidance many local vet clinics, animal hospitals, and organizations like the Red Cross offer hands-on courses specifically for pet first aid.
When NOT to Attempt CPR
It’s just as important to know when to hold back:
- If your dog is still responsive, breathing, or reacting to touch or sound dogs who are still responsive, even with low energy or unusual breathing, do not need CPR.
- If your dog is alert enough to bite skip chest compressions if your dog is alert and could bite you.
- If there’s an ongoing hazard nearby if the cause of the emergency is still present, like an electrical hazard or an ongoing attack, move your dog to a safer location first before attempting anything else.
Frequently Asked Questions
How do I know if my dog needs CPR versus just being sick or weak?
CPR is only appropriate when there’s no breathing and no detectable heartbeat mild issues like brief coughing spells or momentary breathing changes that clear up quickly don’t require CPR.
What causes a dog to need CPR in the first place?
Cardiorespiratory arrest in dogs can happen due to trauma, choking, drowning, or severe heart problems, and can occur suddenly without warning or after signs of weakness or breathing trouble.
How long should I continue performing CPR?
Continue firmly and steadily for at least five minutes before reassessing, and keep going until you detect a heartbeat, see breathing return, or reach veterinary care.
Is the technique different for cats than for dogs?
For cats, small dogs, and deep-chested dogs, the hand placement is the same heel of one hand directly over the heart, other hand stacked on top.
Can performing CPR hurt my dog if they didn’t actually need it?
Yes CPR is potentially hazardous and can cause physical complications or fatal damage if performed on a dog that doesn’t actually need it, which is exactly why confirming unresponsiveness, absence of breathing, and absence of a pulse comes first.
Where exactly do I check for a pulse on a dog?
Feel for the femoral artery on the inside of the hind leg, near the groin.
The Bottom Line
Pet CPR isn’t something you ever want to need but if the moment comes, having these steps already in your muscle memory could genuinely save your dog’s life. Confirm the emergency is real, position your hands correctly for your dog’s size and shape, keep the 30:2 rhythm steady, and get to emergency veterinary care as fast as humanly possible while you work.
Consider bookmarking or saving this guide so it’s there the moment you need it and if you haven’t already, look into a certified pet CPR class near you. Hands-on practice is the one thing no article can fully replace.