
Your dog just rolled in something questionable, their nails are clicking on the hardwood like tap shoes, and your last groomer appointment is three weeks away. Sound familiar?
Here’s the good news: you don’t need a professional certification (or a $75 grooming bill) to keep your dog clean, comfortable, and healthy. With the right tools, a little patience, and this step-by-step guide, you can handle almost every part of your dog’s grooming routine right at home and turn it into one of the best bonding rituals you share.
Grooming a dog helps their skin and fur stay clean, removes dirt, keeps their nails short, and ensures their ears are clean and dogs genuinely feel better after a good grooming session. Let’s walk through exactly how to do it, one step at a time.
Why Home Grooming Is Worth Learning
Over 65 million households in the U.S. own a dog, and many owners spend more than $75 per visit at the groomer. That adds up fast especially if your dog needs grooming every few weeks.
Learning to groom your dog at home doesn’t just save money; it also keeps your dog clean and comfortable and strengthens the bond between you. It also means you catch small health issues a hot spot, an ear infection, an overgrown nail before they become bigger, more expensive problems.
That said, home grooming isn’t an all-or-nothing decision. Plenty of owners handle brushing, bathing, and nail trims at home while still leaving haircuts or tricky mats to a professional. This guide gives you everything you need for both.
What You’ll Need: Dog Grooming Supplies Checklist
Before you touch a single brush, get your tools together. Having everything on hand will make the grooming process smoother and more efficient.
Coat Care:
- Slicker brush (for medium/long coats) or rubber curry brush (for short coats)
- Metal comb, for checking behind ears and in leg folds
- De-shedding tool (especially useful for double-coated breeds)
Bath Time:
- Dog shampoo suited to your dog’s coat type and any specific needs, such as hypoallergenic, medicated, or flea-control formulas
- Dog conditioner (optional, but helpful for long or thick coats)
- Non-slip mat for the tub or floor
- Absorbent towels, or a cool-setting blow dryer
Nail & Paw Care:
- Nail clippers or a grinder designed specifically for dogs
- Styptic powder, in case you cut the nail too short
Ears, Eyes & Teeth:
- Dog-safe ear cleaner and cotton pads (never cotton swabs)
- Soft, damp cloth for the eye area
- Dog-specific toothpaste and a finger brush or soft toothbrush
Step 1: Set Up a Calm, Safe Grooming Space
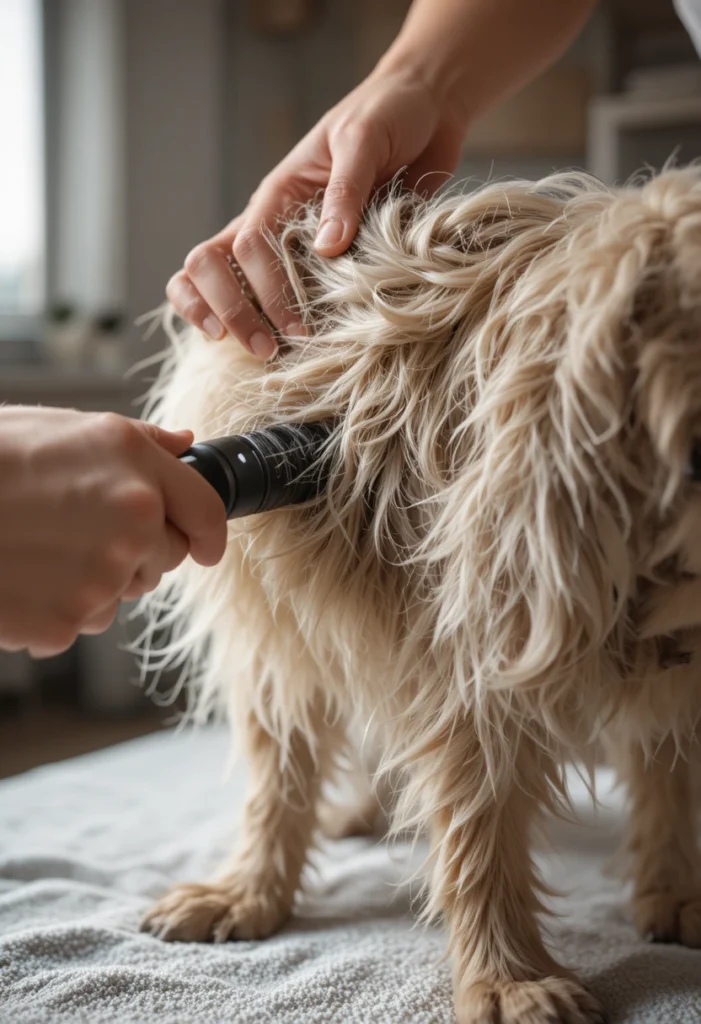
Choose a clean, quiet space where your dog already feels comfortable this single decision affects how the entire session goes. A bathroom, laundry room, or even a corner of the kitchen with good lighting works well.
Lay down a non-slip mat so your dog feels stable, and keep every tool within arm’s reach so you’re never stepping away mid-groom. If your dog is new to grooming or gets anxious, spend a few minutes just letting them sniff the tools and sit calmly before you begin. Short, positive first sessions build trust fast.
Save this rule: never rush the first few sessions. A calm five-minute introduction now prevents a fearful, fighting dog for years to come.
Read Also: How to Perform Pet CPR: 13+ Tips Every Dog Owner Should Know
Step 2: Brush the Coat Thoroughly
Brushing helps remove dirt and loose hair, and it’s the first step when learning how to groom a dog at home.
Start with the right detangling tool for your dog’s coat a slicker or pin brush for longer coats, a rubber curry brush for short coats. Work in small sections, brushing from the skin outward, and check each section with a metal comb to catch any hidden tangles.
How often to brush:
- Long-haired dogs benefit from daily brushing
- Short-haired dogs generally only need brushing once or twice a week
Pay extra attention to friction zones behind the ears, under the front legs, and around the collar where mats form fastest. Hold the fur gently near the skin while brushing to reduce pulling and keep sensitive areas comfortable for your dog.
Step 3: Bath Time Wash Without the Stress
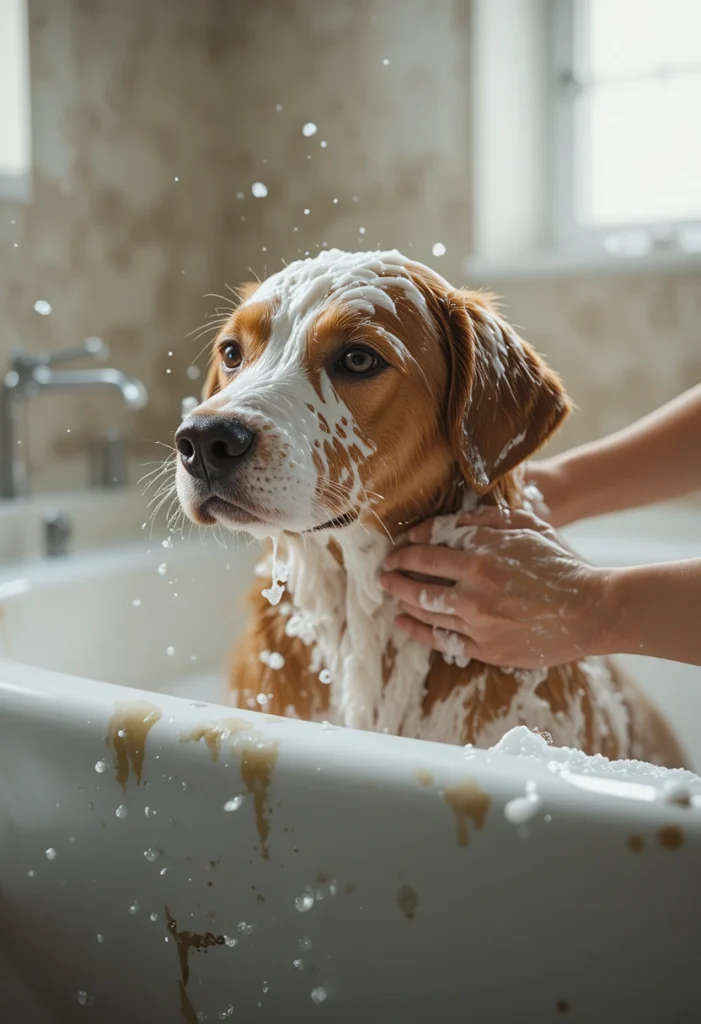
Not every dog needs frequent baths. Only bathe your dog when they’re genuinely dirty or smelly, since overbathing can dry out their skin.
Here’s the process:
- Pre-bath brush. This clears loose hair and dirt so water and shampoo can actually reach the skin and clean evenly instead of just sitting on top of a tangled coat.
- Wet thoroughly with lukewarm water. Avoid the eyes, ears, and mouth as you wet your dog down.
- Lather with a dog-safe shampoo. Never use human shampoo a dog’s skin pH is different, and human products can cause irritation. Gently wash the body, tail, and paws.
- Rinse completely. Thorough rinsing keeps your dog’s skin healthy leftover shampoo residue is a common cause of itchiness.
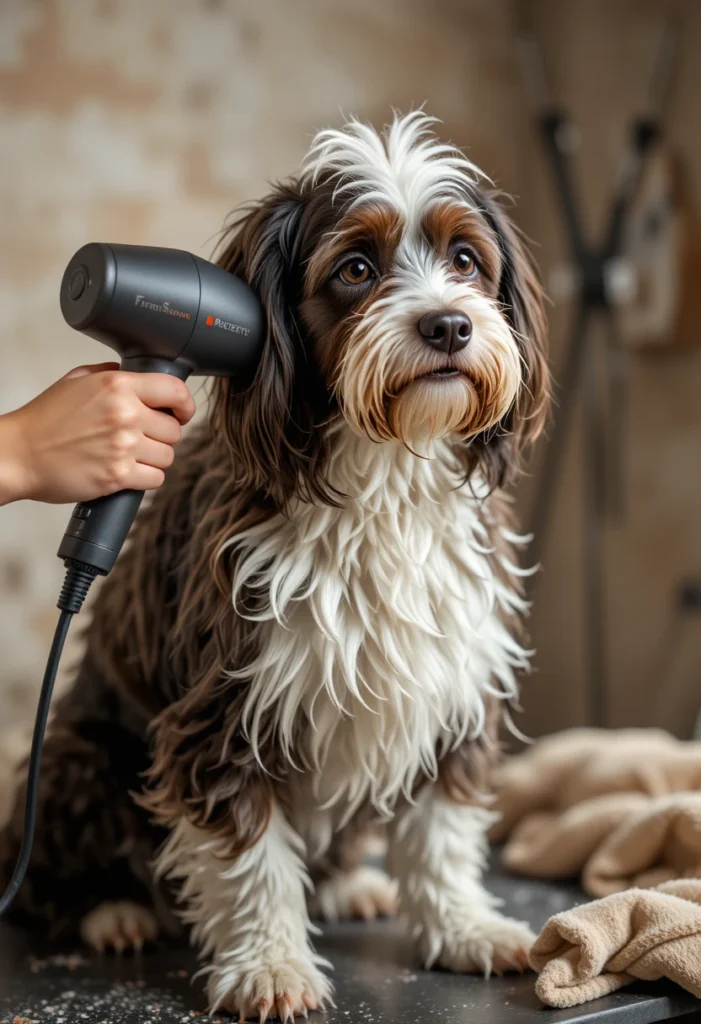
- Dry properly. Dry your dog with a towel, or a blow dryer set to a cool setting if they tolerate the noise.
Bathing frequency guide:
| Coat Type | Recommended Frequency |
|---|---|
| Short-haired | Every 4–6 weeks, or as needed |
| Long/thick-haired | Every 3–4 weeks |
| Double-coated | Seasonally, plus spot cleaning |
| Oily/skin-condition coats | As directed by your vet |
Step 4: Nail Trimming (The Step Everyone Dreads)
Overgrown nails aren’t just unsightly they can cause pain or posture problems over time, changing how your dog walks and stands.
How to trim safely:
- Start trimming gently, a nail or two at a time, so your dog learns you’re not going to hurt them.
- Use dog nail clippers or a grinder, trimming a little at a time and avoiding the pink “quick” the blood vessel inside the nail.
- If you do nick the quick, use styptic powder to stop the bleeding quickly. Then simply stop the bleeding and reassure your dog one nick doesn’t have to derail the whole session.
Nervous about it? You’re not alone this is the step most first-timers fear most. Go slow, trim in tiny increments, and reward every calm moment with a treat. Many dogs only need trims every 3–4 weeks, or whenever you can hear their nails clicking on hard floors.
Step 5: Clean the Ears
Lift the ear flap and check for redness, gunk, or a foul smell before you clean this quick check can catch infections early.
Cleaning process:
- Apply a dog-safe ear cleaner to a cotton pad never a cotton swab, which can push debris deeper or damage the eardrum.
- Wipe only the outer ear gently.
- If you notice signs of infection, skip cleaning and call your vet instead rather than trying to treat it yourself.
A soft cotton ball works well for the outer ear, and you should avoid going in deep dirty, neglected ears can lead to painful infections over time.
Step 6: Wipe the Eyes
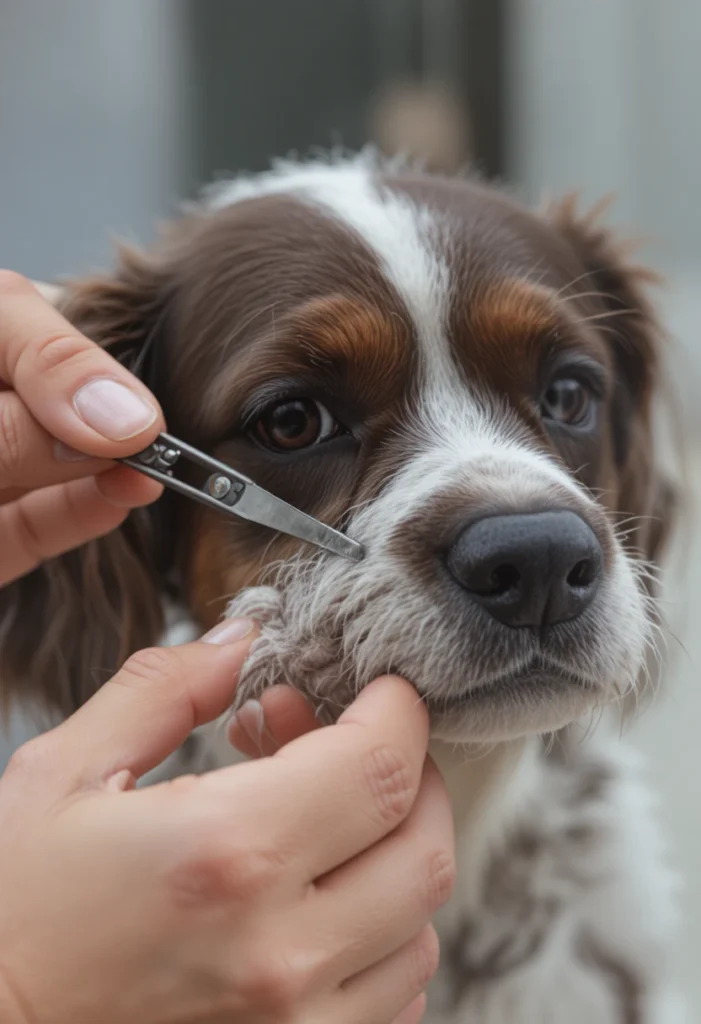
Use a soft, damp cloth to wipe around your dog’s eyes, since dirt and tear-stain crust tend to collect there, and buildup can eventually lead to infection. While you’re at it, glance for any redness or swelling.
Healthy eyes should stay adequately moist if you notice persistent dryness, redness, or excessive discharge, that’s a signal to check in with your vet rather than a DIY fix.
Step 7: Brush the Teeth
Dental care is the most-skipped grooming step and arguably one of the most important for long-term health.
Plaque starts building up after just 48 hours, so brushing your dog’s teeth daily is ideal, though a few times a week still makes a real difference. Left unaddressed, dental problems can contribute to serious health issues, including heart and kidney disease.
Getting started:
- Put a little dog-safe toothpaste on your finger and let your dog sniff and lick it, then do the same with the toothbrush so they get comfortable with both.
- Gently brush in small circular motions along the gumline.
- If your dog resists a toothbrush, try wrapping a finger in gauze or a washcloth to wipe the teeth and massage the gums instead.
- Dental chews and treats can help supplement (not replace) brushing.
Step 8: Trim or Clip Fur (If Needed)
If your dog has thick or curly fur, clippers can help keep their coat manageable between professional visits. When clipping, start with a clean, freshly brushed coat and use long, smooth passes rather than short, choppy motions for the most even results.
For breed-specific cuts, intricate facial trims, or dogs with heavy matting, it’s genuinely fine even smart to leave that part to a professional groomer. At-home grooming and professional grooming aren’t competitors; they work best together.
Step 9: End on a Positive Note
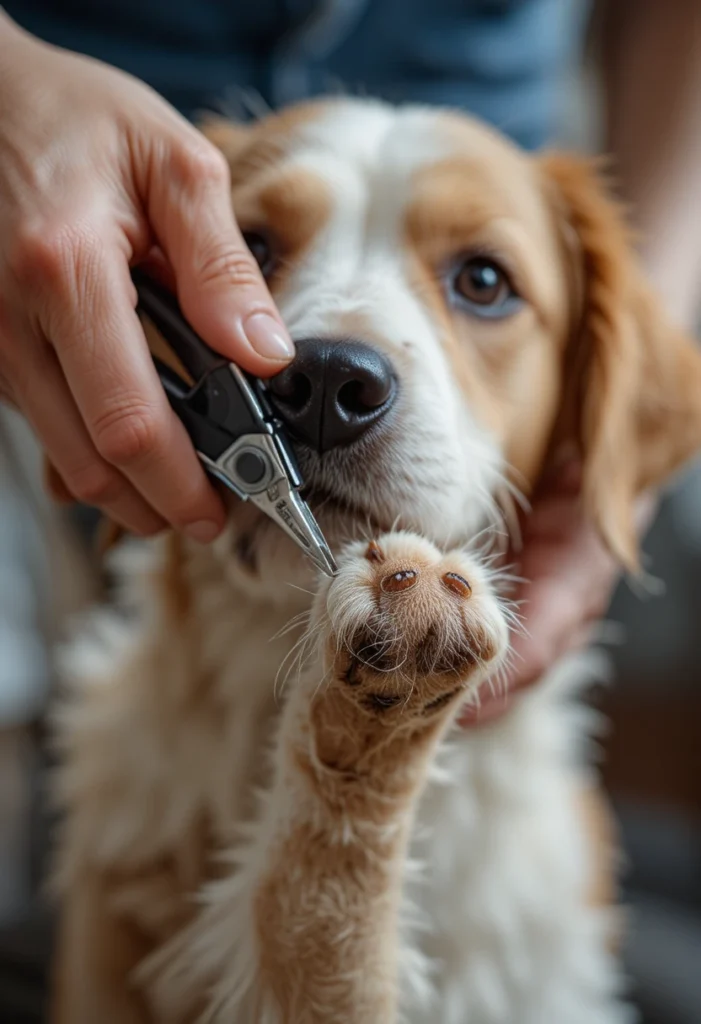
End each grooming step with gentle praise, treats, and affection the goal is to make grooming a positive experience. The more relaxed your dog feels during the process, the easier every future session becomes.
Starting grooming habits when your dog is young helps prevent anxiety later on, and pairing the process with positive reinforcement and treats builds lasting comfort with being handled. Even adult dogs new to grooming can build this trust gradually it just takes more patience.
How to Groom an Anxious or Nervous Dog
Not every dog walks into grooming time calm and cooperative. If yours gets nervous:
- Start small. Practice just touching paws, ears, or the mouth for a few seconds at a time, rewarding calm behavior before you ever pick up a tool.
- Break sessions into pieces. You don’t have to bathe, brush, trim nails, and brush teeth all in one sitting spread it across a few days if that keeps your dog relaxed.
- Watch their body language. Lip licking, yawning, or trying to pull away are signs to pause and reset, not push through.
- Use high-value treats. Save your dog’s favorite treat specifically for grooming sessions so it becomes strongly associated with a positive outcome.
Grooming Frequency by Coat Type: Quick Reference
| Grooming Task | Short Coat | Long/Double Coat |
|---|---|---|
| Brushing | 1–2x per week | Daily |
| Bathing | Every 4–6 weeks | Every 3–4 weeks |
| Nail trimming | Every 3–4 weeks | Every 3–4 weeks |
| Ear cleaning | Weekly check | Weekly check |
| Teeth brushing | 3–7x per week | 3–7x per week |
Common At-Home Grooming Mistakes to Avoid
- Using human shampoo or products — always choose formulas made specifically for dogs
- Cutting nails too aggressively — small, frequent trims beat rare, drastic ones
- Skipping the pre-bath brush — this step prevents matting from getting worse once wet
- Ignoring ear and eye checks — these quick glances catch infections early
- Grooming only when the dog is already stressed — build a routine before problems appear, not after
- Forgetting dental care entirely — it’s the most skipped, and most consequential, step
Frequently Asked Questions
How often should I groom my dog at home?
It depends on coat type: short-haired dogs typically need brushing weekly and baths every 4–6 weeks, while long-haired or double-coated dogs benefit from daily brushing and baths every 3–4 weeks.
What’s the first step in grooming a dog at home?
Brushing out the coat is typically the first step it removes dirt and loose hair and preps the coat before bathing.
Can I use regular shampoo on my dog?
No human shampoo shouldn’t be used on dogs, since it can disrupt their skin’s natural pH balance and cause dryness or irritation. Always choose a shampoo formulated for dogs.
What should I do if I accidentally cut my dog’s nail too short?
Use styptic powder to stop the bleeding, stay calm so your dog doesn’t panic, and reassure them with praise once the bleeding stops.
How can I make grooming less stressful for my dog?
Start grooming habits early, use positive reinforcement and treats consistently, and go gradually anxious or adult dogs new to grooming benefit from shorter, more frequent sessions rather than one long one.
Do I still need a professional groomer if I groom at home?
Many owners handle brushing, bathing, and nail trims at home while leaving intricate haircuts, heavy matting, or breed-specific trims to a professional the two approaches work well together.
Final Thoughts
Grooming isn’t just about how your dog looks it’s a fundamental part of responsible pet care that supports their health, comfort, and your bond together. Once you have your tools ready and a calm routine in place, most of this becomes second nature within a few sessions.
Start slow, keep it positive, and remember: you don’t have to do everything perfectly on day one. Every brushed-out tangle and trimmed nail is one more step toward a healthier, happier dog and a grooming routine you’ll actually look forward to.