
You’ve got the clippers in hand, your dog’s paw resting in your palm and then, right as you line up the blade, your stomach drops. What if you cut too far? What if it bleeds? What if your dog never trusts you with a nail trimmer again?
If that hesitation sounds familiar, you’re not alone hitting the quick is one of the most common fears new dog owners have, and it’s the reason so many nail trims end in a stressed dog, a stressed owner, or a trip to the groomer that costs more than it should. The good news: avoiding the quick isn’t about luck. It’s a skill, and once you understand exactly what you’re looking for, it becomes almost impossible to get wrong.
Below are 13+ practical, vet-informed tips that will help you trim your dog’s nails confidently and safely no blood, no drama, no dreading the next trim. Save this guide before your next nail-trim day; you’ll want tip #4 and #9 close by.
Why Nail Trims Go Wrong (and What the “Quick” Actually Is)
Before any tip will make sense, you need a clear picture of what you’re actually trying to avoid.
A dog’s nail isn’t solid all the way through. The outer shell is hard, dead keratin similar to your own fingernail and it doesn’t hurt when trimmed. But running through the center of that shell is the quick: a soft, living core packed with blood vessels and nerve endings. Cut into it, and your dog will feel a sharp pinch and the nail will bleed, sometimes more dramatically than the injury actually warrants.
Save-worthy fact: The quick isn’t fixed in place. With regular trims, it naturally recedes further back into the nail over time which means consistent, gentle trimming actually makes future trims safer, not riskier.
On dogs with light or clear nails, the quick is easy to spot: it shows up as a pale pink area visible right through the nail. On dogs with black or dark nails, it’s essentially invisible from the outside, which is exactly why most quick-cutting accidents happen on darker-nailed breeds.
What You’ll Need Before You Start
A stress-free trim starts with having the right setup ready before your dog ever sees the clippers:
- Dog-specific nail clippers (scissor-style or guillotine-style more on choosing below)
- A nail grinder (optional, but excellent for dark nails)
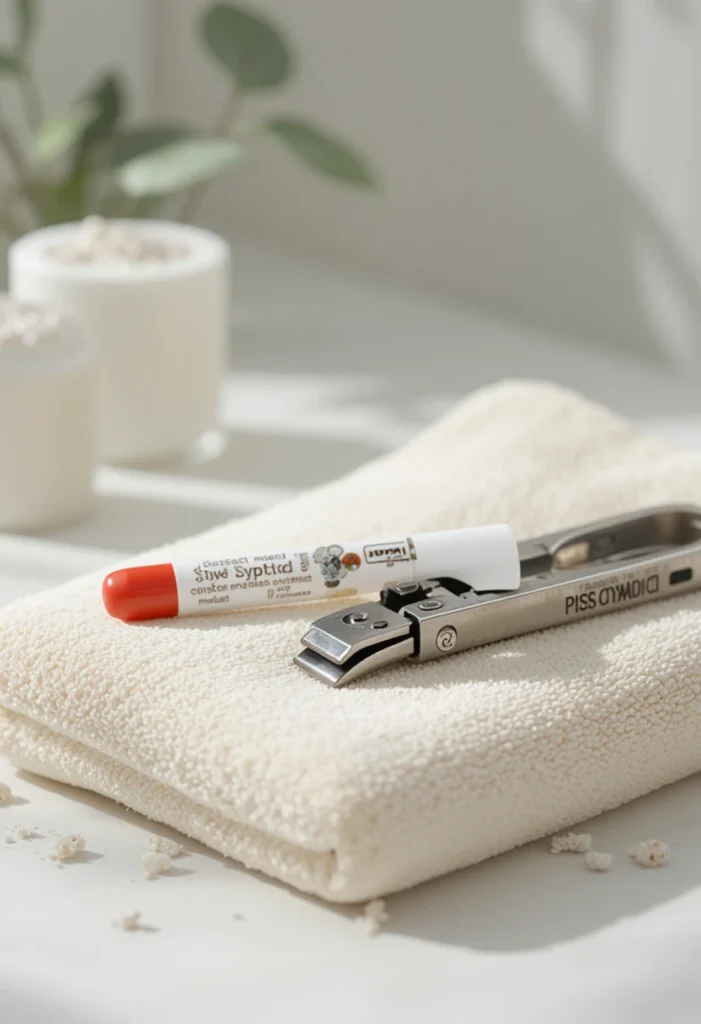
- Styptic powder or plain cornstarch, in case of an accidental nip
- High-value treats for positive reinforcement
- A flashlight if your dog has dark nails
- A nail file or emery board to smooth rough edges afterward
With supplies ready, here are the tips that make the biggest difference.
13+ Tips to Trim Dog Nails Without Cutting the Quick
1. Learn to Read Light-Colored Nails First
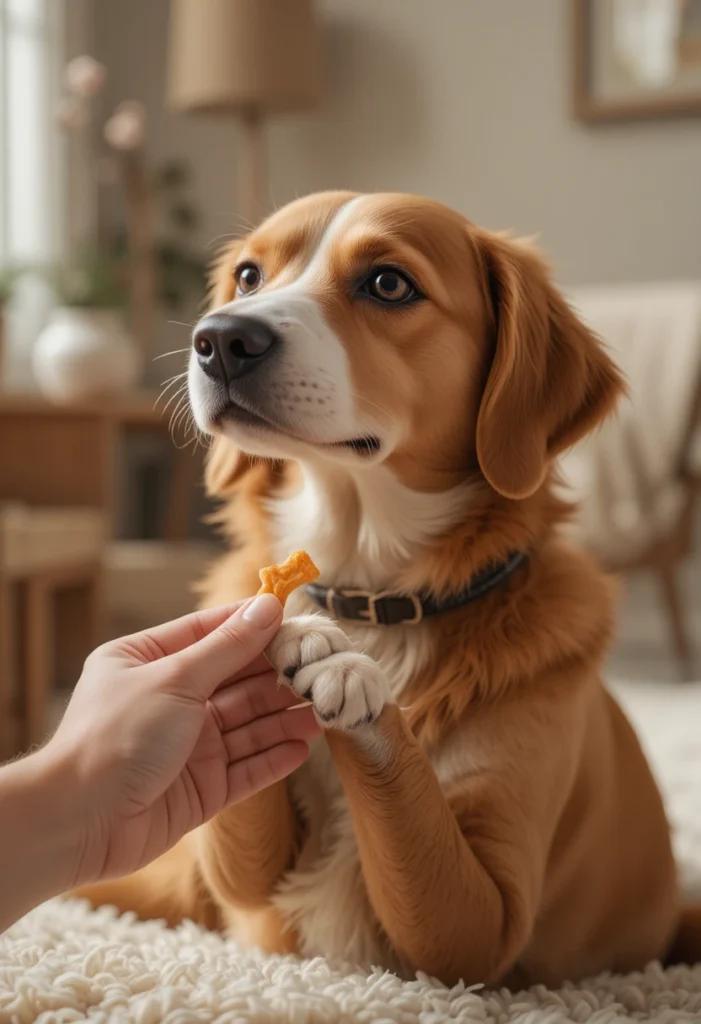
If your dog has white or light nails, you’re in the easiest starting position. Hold the paw up to natural light and look for the pale pink triangle running through the center of the nail that’s the quick. Your goal is to trim roughly 2–3mm short of where that pink area ends, giving yourself a clear safety margin.
2. Use the “Small Clips” Method for Black Nails
Dark nails hide the quick, so the safest approach is patience: take off just 1–2mm at a time rather than one confident chop. After each tiny clip, look at the freshly cut surface. The moment you see a small, chalky gray-to-pink oval appear in the center, stop immediately that’s your signal you’re approaching the quick.
Read Also: How to Clean a Dog’s Ears at Home: The Complete Step by Step Guide
3. Try the Flashlight Trick
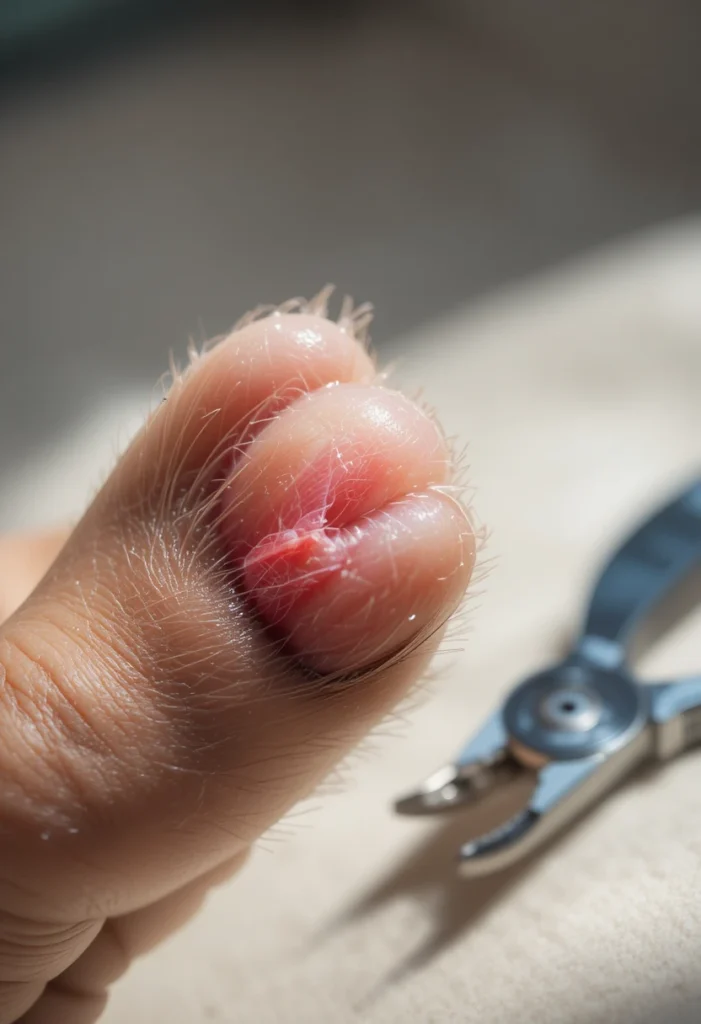
For particularly tricky dark nails, hold a small flashlight directly behind or underneath the nail. In many dogs, this backlighting is enough to faintly silhouette the quick even through darker nail material, giving you a rough visual guide before you make your first cut.
4. Check for the Underside Groove
Flip the paw over and look at the underside of the nail. Many dogs have a subtle groove where the harder nail shell meets the softer inner tissue this transition point is a helpful visual marker for roughly where the quick begins, even on nails too dark to see through from the top.
5. Choose the Right Tool for Your Dog’s Nail Type
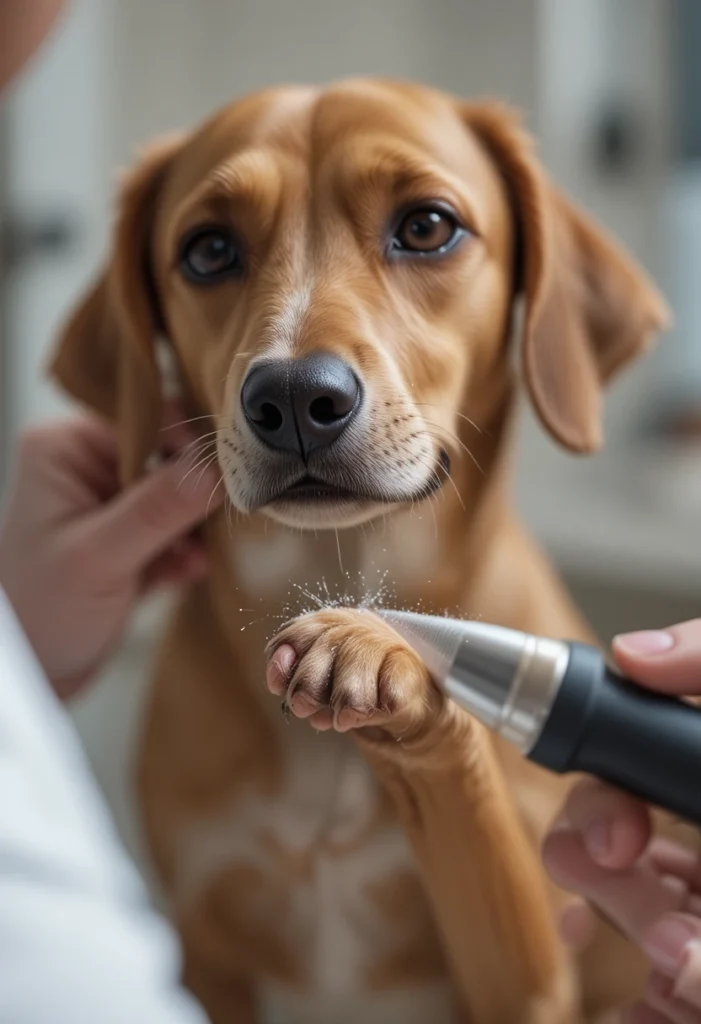
Scissor-style clippers give you the clearest view of exactly where you’re cutting, which makes them a good choice for beginners. Guillotine-style clippers can be trickier to gauge and are often better suited to owners with more experience. If your dog has particularly dark or thick nails, a rotary nail grinder is worth considering it files the nail down gradually instead of cutting it in one motion, which makes it much harder to accidentally take off too much at once.
6. Position the Paw Correctly Before You Cut
Grip technique matters more than most owners realize. Place your thumb gently under the paw pad and your forefinger on top of the toe, just above the nail, then push your thumb slightly back while pushing your forefinger forward. This extends the nail outward and holds the toe steady, giving you a clean, controlled angle instead of trying to trim a nail that’s curling away from you.
7. Cut at the Right Angle, Not Straight Across
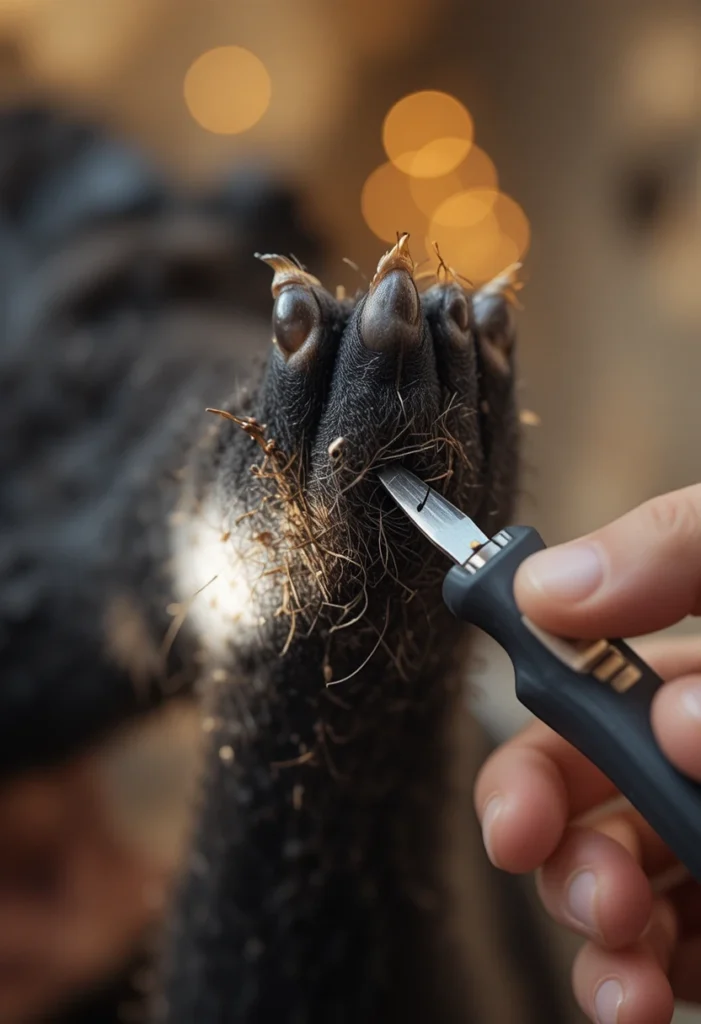
Rather than clipping straight down, angle the blade slightly following the natural curve where the nail bends downward. Cutting parallel to that curve, rather than perpendicular to it, keeps you further from the quick and produces a cleaner, more comfortable edge for your dog to walk on.
8. Trim a Little, Often Not Everything, All at Once
You don’t need to get every nail to its ideal length in a single sitting, especially with a nervous or first-time dog. Taking the smallest possible sliver off each nail, then stopping, is far safer than trying to achieve a “perfect” trim in one pass. Quick recap: little and often beats short and stressful, every time.
9. Trim After a Walk, Not Before
Timing changes everything. Nails are slightly softer and easier to cut right after a walk or light exercise, and a dog that’s already a bit tired tends to be calmer and more cooperative than one that’s wound up with pent-up energy.
10. Break It Into Multiple Short Sessions
If your dog gets anxious the moment the clippers appear, you don’t have to do all four paws at once. Trim one paw or even just one or two nails then stop, reward, and finish the rest later that day or the next. Over time, this turns nail trims into a low-stress routine instead of a dreaded event.
11. Use Treats and Praise Throughout, Not Just at the End

Reward your dog after every single nail, not just when the whole session is finished. This constant positive reinforcement helps your dog build a genuine, moment-by-moment positive association with the clippers themselves, rather than just tolerating the process to get to a reward at the very end.
12. Get a Second Pair of Hands for Wiggly Dogs
If your dog is large, anxious, or simply not a fan of having their feet touched, having a second person gently hold and reassure them — or offer a steady stream of treats frees you up to focus entirely on making clean, careful cuts instead of also trying to restrain a squirming dog.
13. Don’t Skip the Dewclaws
The dewclaw, located higher up on the inside of the leg, doesn’t touch the ground and therefore never wears down naturally the way walking-surface nails do. Left untrimmed, it can curl around and grow directly into the paw, which is painful and easy to miss if you’re only focused on the main nails.
14. Keep Styptic Powder Within Reach Just in Case
Even with every precaution, accidents can still happen. If you do nick the quick, press a small amount of styptic powder (or plain cornstarch or flour in a pinch) firmly onto the tip of the nail for about 30 seconds. Most minor nips stop bleeding within a few minutes and look far more dramatic than they actually are.
15. Trim Consistently to Make the Quick Recede Over Time
This is the tip that makes every future trim easier: nails that are trimmed regularly cause the quick to gradually retreat further back inside the nail. Dogs whose nails have gone a long time without trimming often have a quick that’s grown almost to the tip — which is exactly why the first trim on overgrown nails deserves extra caution.
16. Know When to Let a Professional Handle It
If your dog’s nails are severely overgrown, your dog is extremely fearful, or you’re simply not confident yet, there’s no shame in booking the first trim (or several) with a vet or professional groomer. Watching a professional do it and asking questions while they work is one of the fastest ways to build your own confidence for future at-home trims.
What to Do If You Accidentally Cut the Quick
Even experienced owners nick the quick occasionally it happens, and it’s rarely as serious as it feels in the moment. If it happens to you:
- Stay calm your dog will pick up on your reaction, and a calm handler keeps the dog calmer too.
- Apply styptic powder, cornstarch, or flour directly to the tip of the nail with firm, steady pressure.
- Hold the pressure for 30 seconds to a minute without checking too frequently.
- Offer treats and reassurance immediately afterward so the session still ends on a positive note.
- If bleeding hasn’t stopped after several minutes, or your dog shows signs of significant pain or infection later, contact your veterinarian.
How Often Should You Trim Your Dog’s Nails?
Most dogs need a nail trim every 3 to 4 weeks, though this varies based on activity level and surface type dogs that walk regularly on concrete or pavement naturally wear their nails down faster than dogs that spend most of their time on grass, carpet, or soft ground. A simple rule of thumb: if you can hear your dog’s nails clicking loudly on hard floors, it’s time for a trim.
Frequently Asked Questions
How do I find the quick on black dog nails?
Look at the underside of the nail for a subtle groove marking where the hard shell meets the softer inner tissue, or trim in very small increments and stop as soon as a grayish-pink oval appears in the center of the freshly cut surface.
Is it better to use clippers or a grinder?
Clippers are quicker and work well once you’re confident spotting the quick, while a grinder files the nail down gradually, making it a safer, more forgiving option for dark nails or nervous first-time trimmers.
How much of the nail should I actually cut?
As a general guide, aim to leave roughly 2mm of space between your cut and the visible quick on light nails; on dark nails, take off tiny amounts at a time and stop the moment you see the grayish-pink dot appear.
What if my dog absolutely won’t sit still for a nail trim?
Break the process into much smaller steps even just touching the clippers to one nail without cutting, followed by a treat, is progress. Gradual desensitization over several short sessions works far better than forcing a full trim in one sitting.
Why does my dog’s nail bleed so much from such a small cut?
The quick contains a dense network of blood vessels, so even a very small nick can bleed more than the size of the cut would suggest it typically looks worse than the actual injury and stops with light pressure and styptic powder within a few minutes.
Final Thoughts
Trimming your dog’s nails without hitting the quick isn’t about having perfect eyesight or steady-handed luck it’s about slowing down, trimming in small increments, and reading the signs your dog’s nails are giving you at every step. Start with light, easy-to-read nails if you have them, go slower than feels necessary on dark ones, and keep styptic powder nearby so an accidental nick never derails the whole process.
The more consistently you trim, the shorter the quick recedes and the easier every future session becomes which means the nervous, white-knuckle nail trim you’re dreading today can genuinely become a five-minute, treat-filled routine within just a few months.