
Your cat just sank a claw into your favorite sweater again, or worse, into your arm while you were minding your own business on the couch. If you’ve been putting off nail trims because the last attempt ended in a hissing standoff, you are far from alone. Most cat owners dread this exact moment.
Here’s the good news: trimming a cat’s nails safely is a skill, not a gamble, and once you understand exactly where to cut, how to hold your cat, and what tools actually work, it becomes a quick five-minute routine instead of a wrestling match. Stick around, because tip number 9 below is the one that trainers say makes the biggest difference for nervous cats, and it’s rarely mentioned in the usual advice.
By the end of this guide, you’ll know exactly how to trim your cat’s nails at home, what to do if you nick the quick, and how to turn nail trims into something your cat barely notices.
Why Trimming Your Cat’s Nails Actually Matters
It’s tempting to assume nail care is optional for indoor cats, but overgrown nails cause real problems. Long nails can curl inward and grow directly into the paw pad, which is painful and can lead to infection. They also snag on carpet, blankets, and cat trees, sometimes tearing partway and bleeding.
Regularly trimmed nails protect your furniture, your skin, and your cat’s paws all at once. For senior cats especially, nails thicken and grow faster, making trims even more important as they age.
Trimming also gives you a reason to check your cat’s paws regularly, which helps you catch swelling, redness, or injuries early, long before they become a bigger vet visit.
Signs Your Cat’s Nails Need a Trim
You don’t need to trim on a rigid schedule if you know what to look for. Watch for:
- Nails that curl and touch the paw pad when you press gently
- Audible clicking on hard floors when your cat walks
- Snagging on carpets, cat trees, or blankets
- Nails visibly extending well past the fur line even when relaxed
- Increased accidental scratches during normal play
If you notice two or more of these, it’s time to get the clippers out.
Supplies You’ll Need Before You Start
Trying to trim nails with the wrong tools is where most bad experiences begin. Gather everything first so you’re not fumbling mid-session.
You’ll want:
- Cat-specific nail clippers (scissor-style or guillotine-style both work well)
- Styptic powder or cornstarch, in case you nick the quick
- Treats your cat genuinely loves, saved only for trimming sessions
- A soft towel, useful for swaddling anxious cats
- Good lighting, so you can clearly see the quick
Human nail clippers can technically work in a pinch, but they tend to crush the nail rather than cut cleanly, which is uncomfortable for your cat. A dedicated cat clipper is worth the small investment.
Read Also: 13+ Genius Ways to Potty Train a Puppy
Understanding the Quick (This Is the Part That Matters Most)
The quick is the pink, blood-rich section inside your cat’s nail that contains nerve endings. Cutting into it hurts your cat and causes bleeding, which is the single biggest fear most owners have going into their first trim.
On cats with pale or clear nails, the quick is easy to spot: hold the paw up to a light and you’ll see the pink section clearly. Only trim the white, translucent tip beyond where the pink begins.
Dark or black nails hide the quick, which makes things trickier. In this case, trim in tiny increments, just a sliver at a time, and stop as soon as you see a faint gray or pink dot appear in the center of the cut surface. That dot means you’re getting close, and it’s your signal to stop on that nail.
Step-by-Step: How to Trim Your Cat’s Nails Safely
Once you understand the quick, the actual process is straightforward.
Step 1: Pick a calm moment. Choose a time when your cat is relaxed, ideally after a meal or a play session when they’re naturally sleepy.
Step 2: Get into position. Hold your cat gently in your lap, facing away from you, or sit them on a table with a towel underneath.
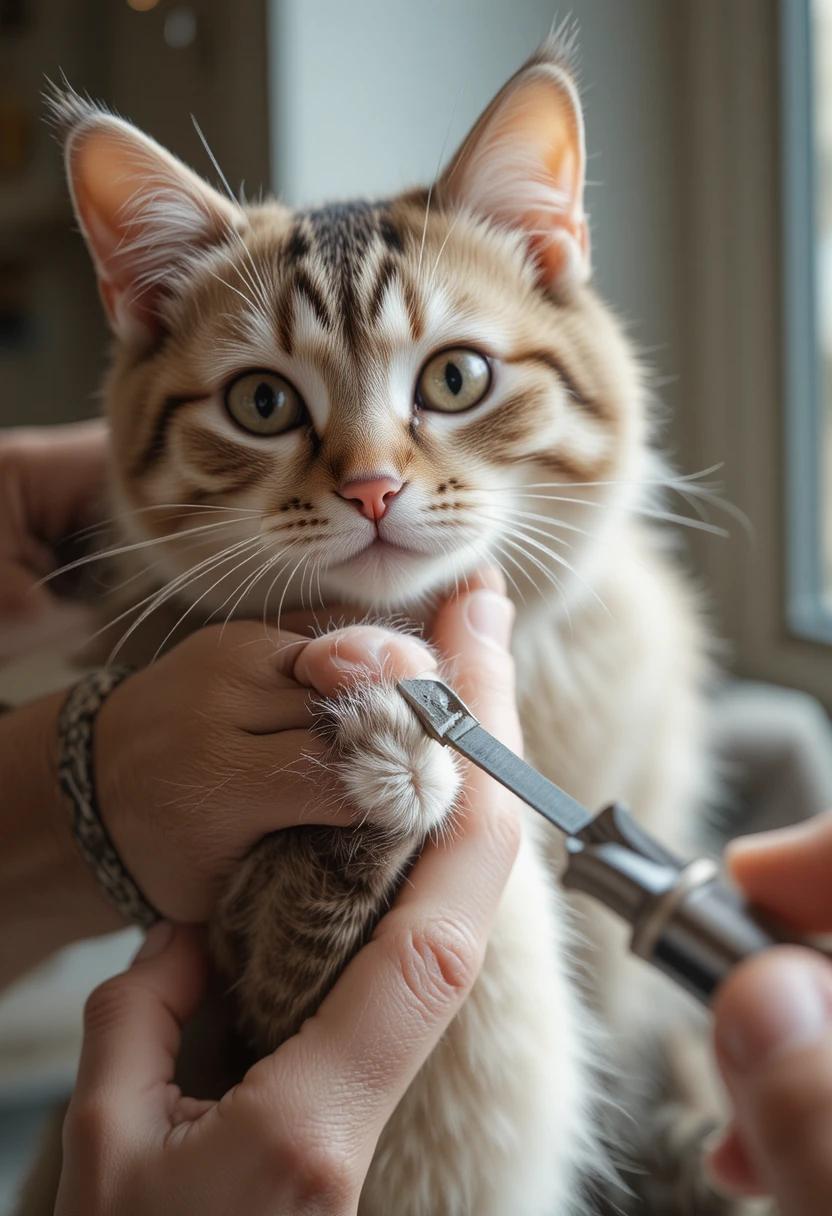
Step 3: Extend the claw. Press your thumb on top of the paw and your finger underneath the pad, just behind the nail. This gently pushes the claw forward and extended.
Step 4: Identify the quick. Look for the pink section before making any cut.
Step 5: Trim the tip. Use quick, confident pressure to snip only the sharp, curved tip, well clear of the quick. A hesitant, slow squeeze can crush the nail instead of cutting it cleanly.
Step 6: Move to the next claw. Repeat, giving a treat or praise after every nail or every paw, whichever keeps your cat calm.
Step 7: Stop if needed. If your cat becomes distressed, stop and finish the rest another day. There’s no rule that says all ten claws have to happen in one sitting.
Here’s the thing: rushing is what causes accidents. A calm three-nail session today beats a stressful ten-nail session that ends in a scratch.
13+ Tips to Make Cat Nail Trimming Safe, Fast, and Stress-Free
These are the practical, save-worthy tips that make the biggest difference, gathered from real trimming sessions and everyday cat-owner experience.
1. Trim after exercise, not before.
A tired cat is a cooperative cat. Trim nails after an active play session when your cat is winding down and more likely to sit still.
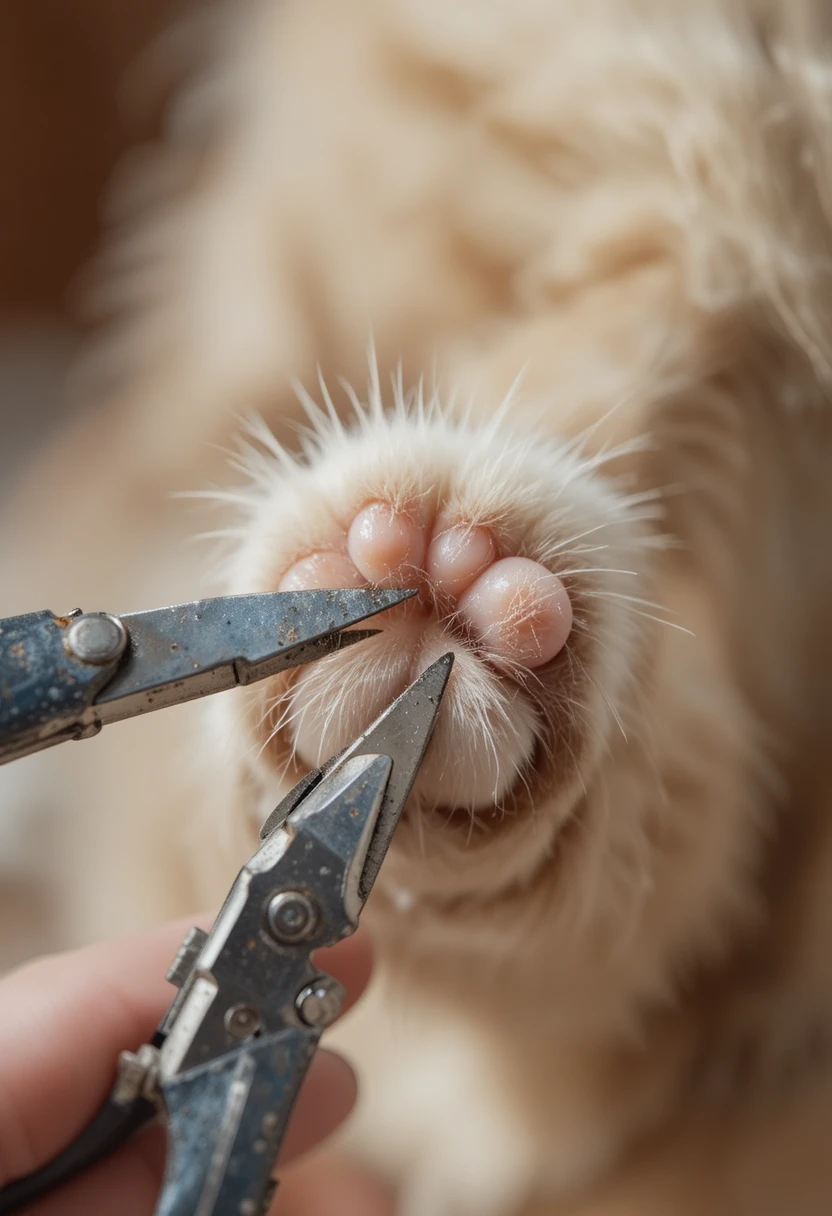
2. Start with just one paw.
You don’t have to finish all four paws in one go. Trimming one paw, or even one nail, and stopping is completely fine. Progress beats perfection here.
3. Let your cat sniff the clippers first.
Before the first trim, leave the clippers near your cat’s food bowl or bed for a few days so the object stops feeling threatening.

4. Use the “touch and reward” method for a week before trimming.
Gently touch and press each paw daily, giving a treat immediately after. This builds tolerance before clippers ever enter the picture.
5. Trim in a quiet room, not a busy one.
Background noise and movement raise a cat’s alertness. A quiet bathroom or bedroom works better than a living room with the TV on.
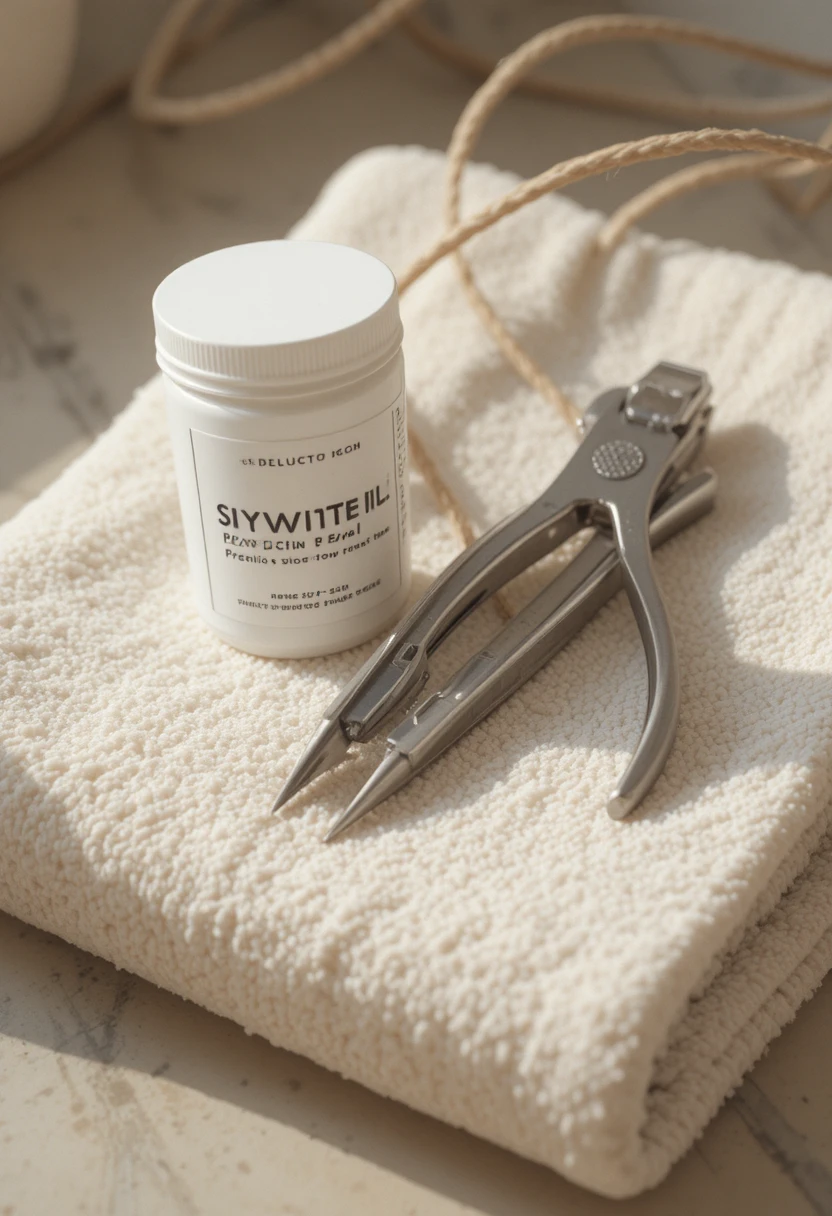
6. Angle the cut at roughly 45 degrees.
Cutting at a slight angle, rather than straight across, lets the trimmed nail sit more comfortably against the ground when your cat walks.
7. Keep a “cut, then treat” rhythm.
Reward immediately after each individual nail, not just at the end. This creates a fast, positive association your cat can actually follow.
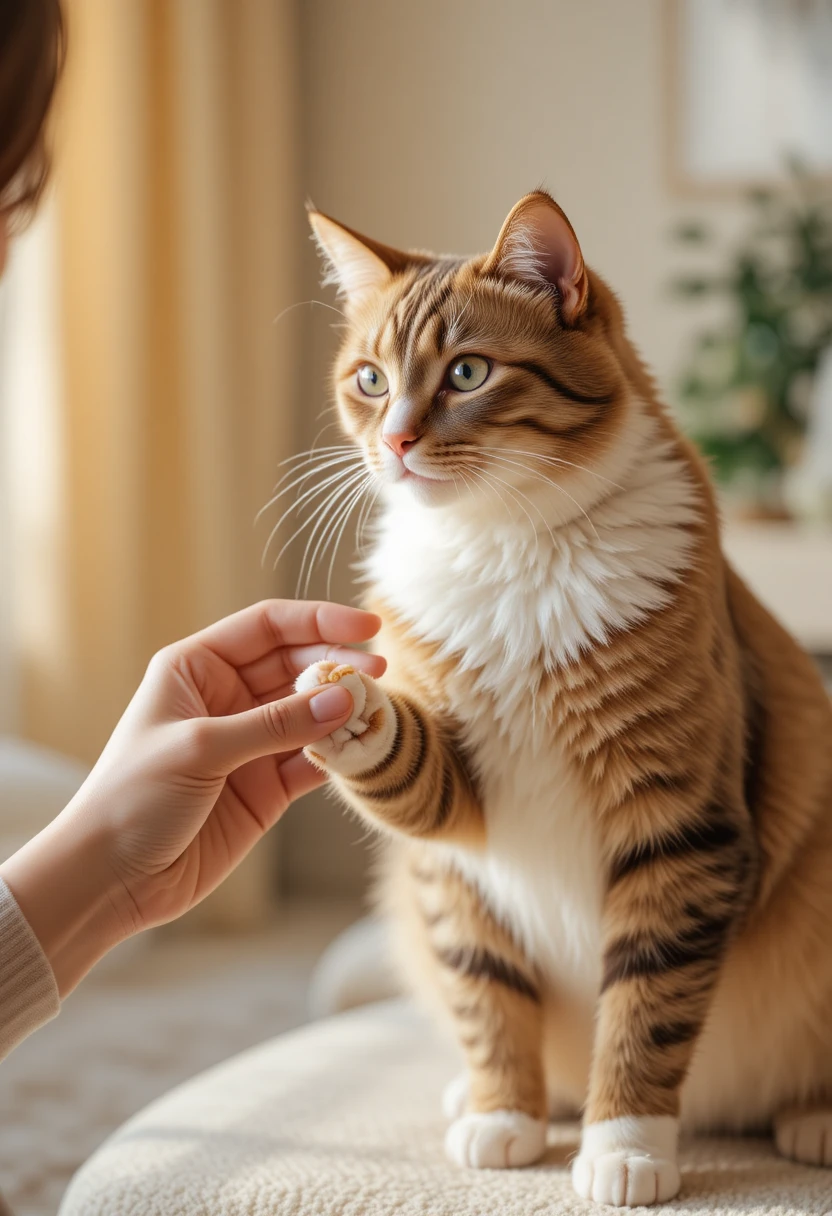
8. Wrap anxious cats snugly in a towel, exposing one paw at a time.
Sometimes called the “purrito” method, this gentle swaddle keeps wriggly or nervous cats secure without restraining them harshly.
9. Recruit a second pair of hands.
Having someone gently hold and pet your cat while you focus purely on clipping dramatically reduces stress for first-timers on both ends of the leash.

10. Trim in dim, calm lighting, then switch on a bright lamp just for the cutting moment.
This keeps your cat relaxed in a low-key environment while still giving you the visibility you need at the exact moment of the cut.
11. File sharp edges instead of a second cut.
If a nail still feels sharp after trimming, use a small pet nail file rather than trying to clip closer, which risks the quick.
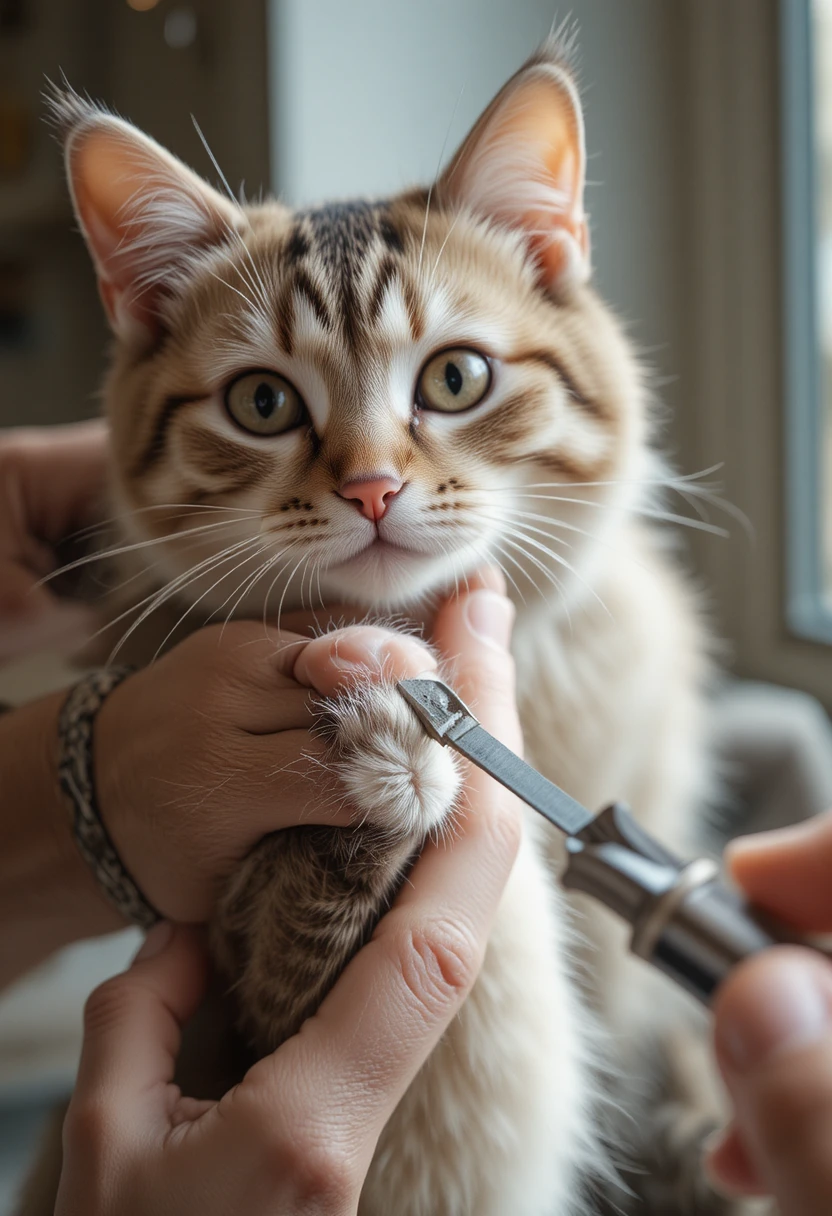
12. Keep sessions under five minutes.
Cats’ patience has a short window. If you’re past the five-minute mark and your cat is squirming, it’s time to stop, not push through.
13. Track which nails you’ve already done.
It’s easy to lose count mid-session, especially with a wiggly cat. A quick mental note (“front left done”) prevents double-trimming or missed nails.
Bonus tip: Keep the whole kit in one spot.
Store clippers, styptic powder, and treats together in a small bag so nail trims become a simple grab-and-go routine instead of a hunt for supplies.
Bonus tip: End every session on a positive note, even a short one.
Finish with a favorite treat or a play session so your cat’s last memory of the experience is a good one, not a stressful one.
Save this list, because the next trimming session will go faster if you have it handy.
What To Do If You Accidentally Cut the Quick
Even careful, experienced owners nick the quick occasionally. It looks alarming, but it’s rarely a serious injury.
If it happens:
- Stay calm. Cats pick up on your stress, which can make them more anxious.
- Apply styptic powder directly to the tip of the nail and hold light, steady pressure for about 30 seconds.
- No styptic powder on hand? Cornstarch or flour works as a temporary substitute in a pinch.
- Offer a treat and let your cat relax.
- Watch the paw. If bleeding hasn’t slowed within several minutes, or your cat seems to be in significant pain, call your veterinarian.
A nicked quick is uncomfortable, but it is almost never an emergency. Keep styptic powder within reach every single time you trim, just in case.
If Your Cat Absolutely Won’t Cooperate
Some cats fight nail trims no matter how gently you approach it. If that’s your situation, you have options that don’t involve forcing the issue.
- Break it up further. One nail per day is a completely legitimate strategy for a nail-averse cat.
- Try a nail grinder instead of clippers. Some cats tolerate the gentle vibration and sound better than the snip of clippers, though it takes a slower, patient introduction.
- Use pheromone sprays in the trimming area about 15 minutes beforehand to reduce baseline anxiety.
- Ask your vet or a professional groomer. There is no shame in outsourcing this task. A quick, calm professional trim is far better for your cat’s wellbeing than a stressful fight at home.
If your cat is highly reactive every single time despite consistent gentle handling, a quick check-in with your vet can also rule out paw pain or sensitivity as the underlying cause.
Trimming Kitten Nails: Start Early for Long-Term Success
If you have a kitten, you have a real advantage. Kittens who get used to gentle paw handling early on almost always grow into adult cats who tolerate nail trims far better.
Start by simply touching and gently pressing your kitten’s paws daily, with zero clippers involved, just to build comfort. Once that feels normal, introduce the clippers slowly, letting your kitten see and sniff them before any actual cutting happens.
Kitten nails are also thinner and more delicate, so use extra light pressure and go slowly. A few seconds of handling paired with a treat is enough for a very young kitten’s first few sessions.
How Often Should You Trim Cat Nails?
Most indoor cats need a nail trim every 2 to 4 weeks. Outdoor cats, who naturally wear their nails down through climbing and scratching, may only need trims a few times a year.
Older or less active cats often need more frequent trims, since they scratch less and their nails grow thicker with age. The paw-check habit mentioned earlier is the easiest way to know when it’s actually time, rather than guessing based on the calendar alone.
Frequently Asked Questions
Do cats really need their nails trimmed if they use a scratching post?
Yes. Scratching posts help shed the outer nail sheath and support healthy scratching behavior, but they don’t fully substitute for trimming, especially for indoor cats whose nails grow faster than they wear down.
Is it cruel to trim a cat’s nails?
No. Trimming only the sharp, dead tip of the nail is painless when done correctly and protects your cat from snagging, ingrown nails, and injury. It’s a normal, healthy part of cat care.
Can I use human nail clippers on my cat?
You can in an emergency, but they tend to crush rather than cleanly cut a curved cat nail, which is less comfortable. A cat-specific clipper is a better long-term choice.
Why does my cat’s nail bleed even though I was careful?
Nail length and quick position vary between cats and even between individual nails on the same cat. Dark nails make the quick especially hard to judge, so trimming in very small increments is the safest approach.
Should I declaw my cat instead of trimming?
No. Declawing is a major, irreversible surgical procedure that removes part of the toe bone, and it’s discouraged by most veterinary organizations due to long-term pain and mobility issues. Regular trimming, soft nail caps, and scratching posts are safe, humane alternatives.
What are soft nail caps, and do they work?
Soft nail caps are small vinyl covers glued over trimmed nails to blunt sharp tips. They’re a reasonable option for cats who scratch furniture or people, though nails still need to be trimmed underneath them and caps need periodic reapplication.
Final Thoughts
Trimming your cat’s nails safely comes down to three things: knowing exactly where the quick is, using the right tools, and working in short, calm sessions rather than forcing a marathon trim. Once you and your cat settle into a rhythm, what once felt like a battle becomes a quick, five-minute routine, and your furniture, your skin, and your cat’s paws will all thank you for it.